Goose neck sausage. Goal: complete.

Just before Christmas, my buddy who sourced our last goose sent me a note.

"Greg shot a pair of geese today. Much bigger than the last. Would you like one? This one has the head still!" 

It has the head still? Well, of COURSE I'm going to take it. 

Unlike the first one, I hung the goose from the rafters of the barn for 5 days. With game birds, the flavor can be a bit strong, and hanging them for a bit (3-7 days, per the experts) mellows the flavor. 

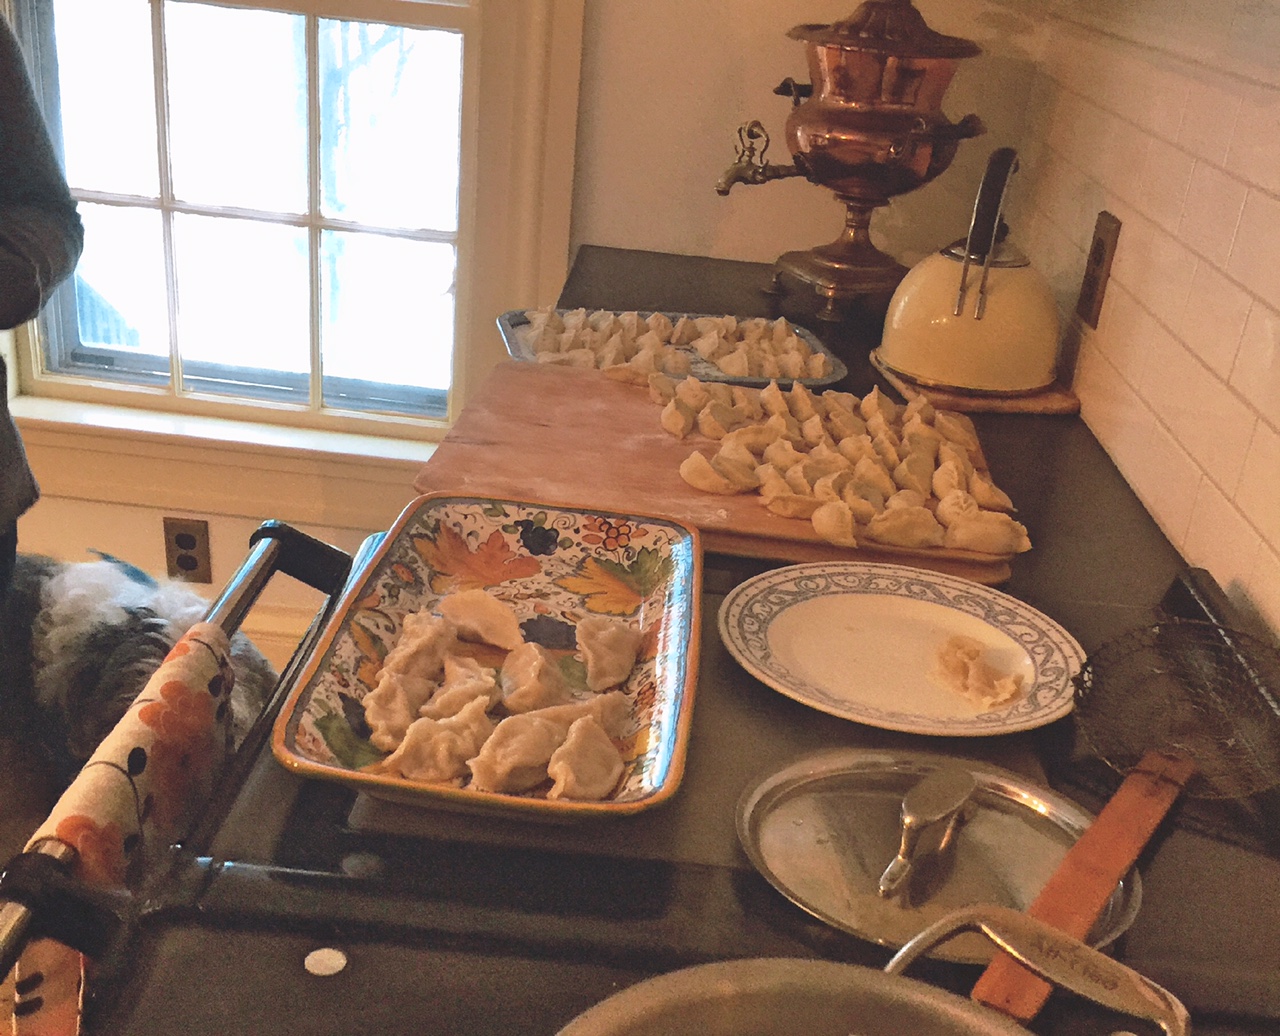
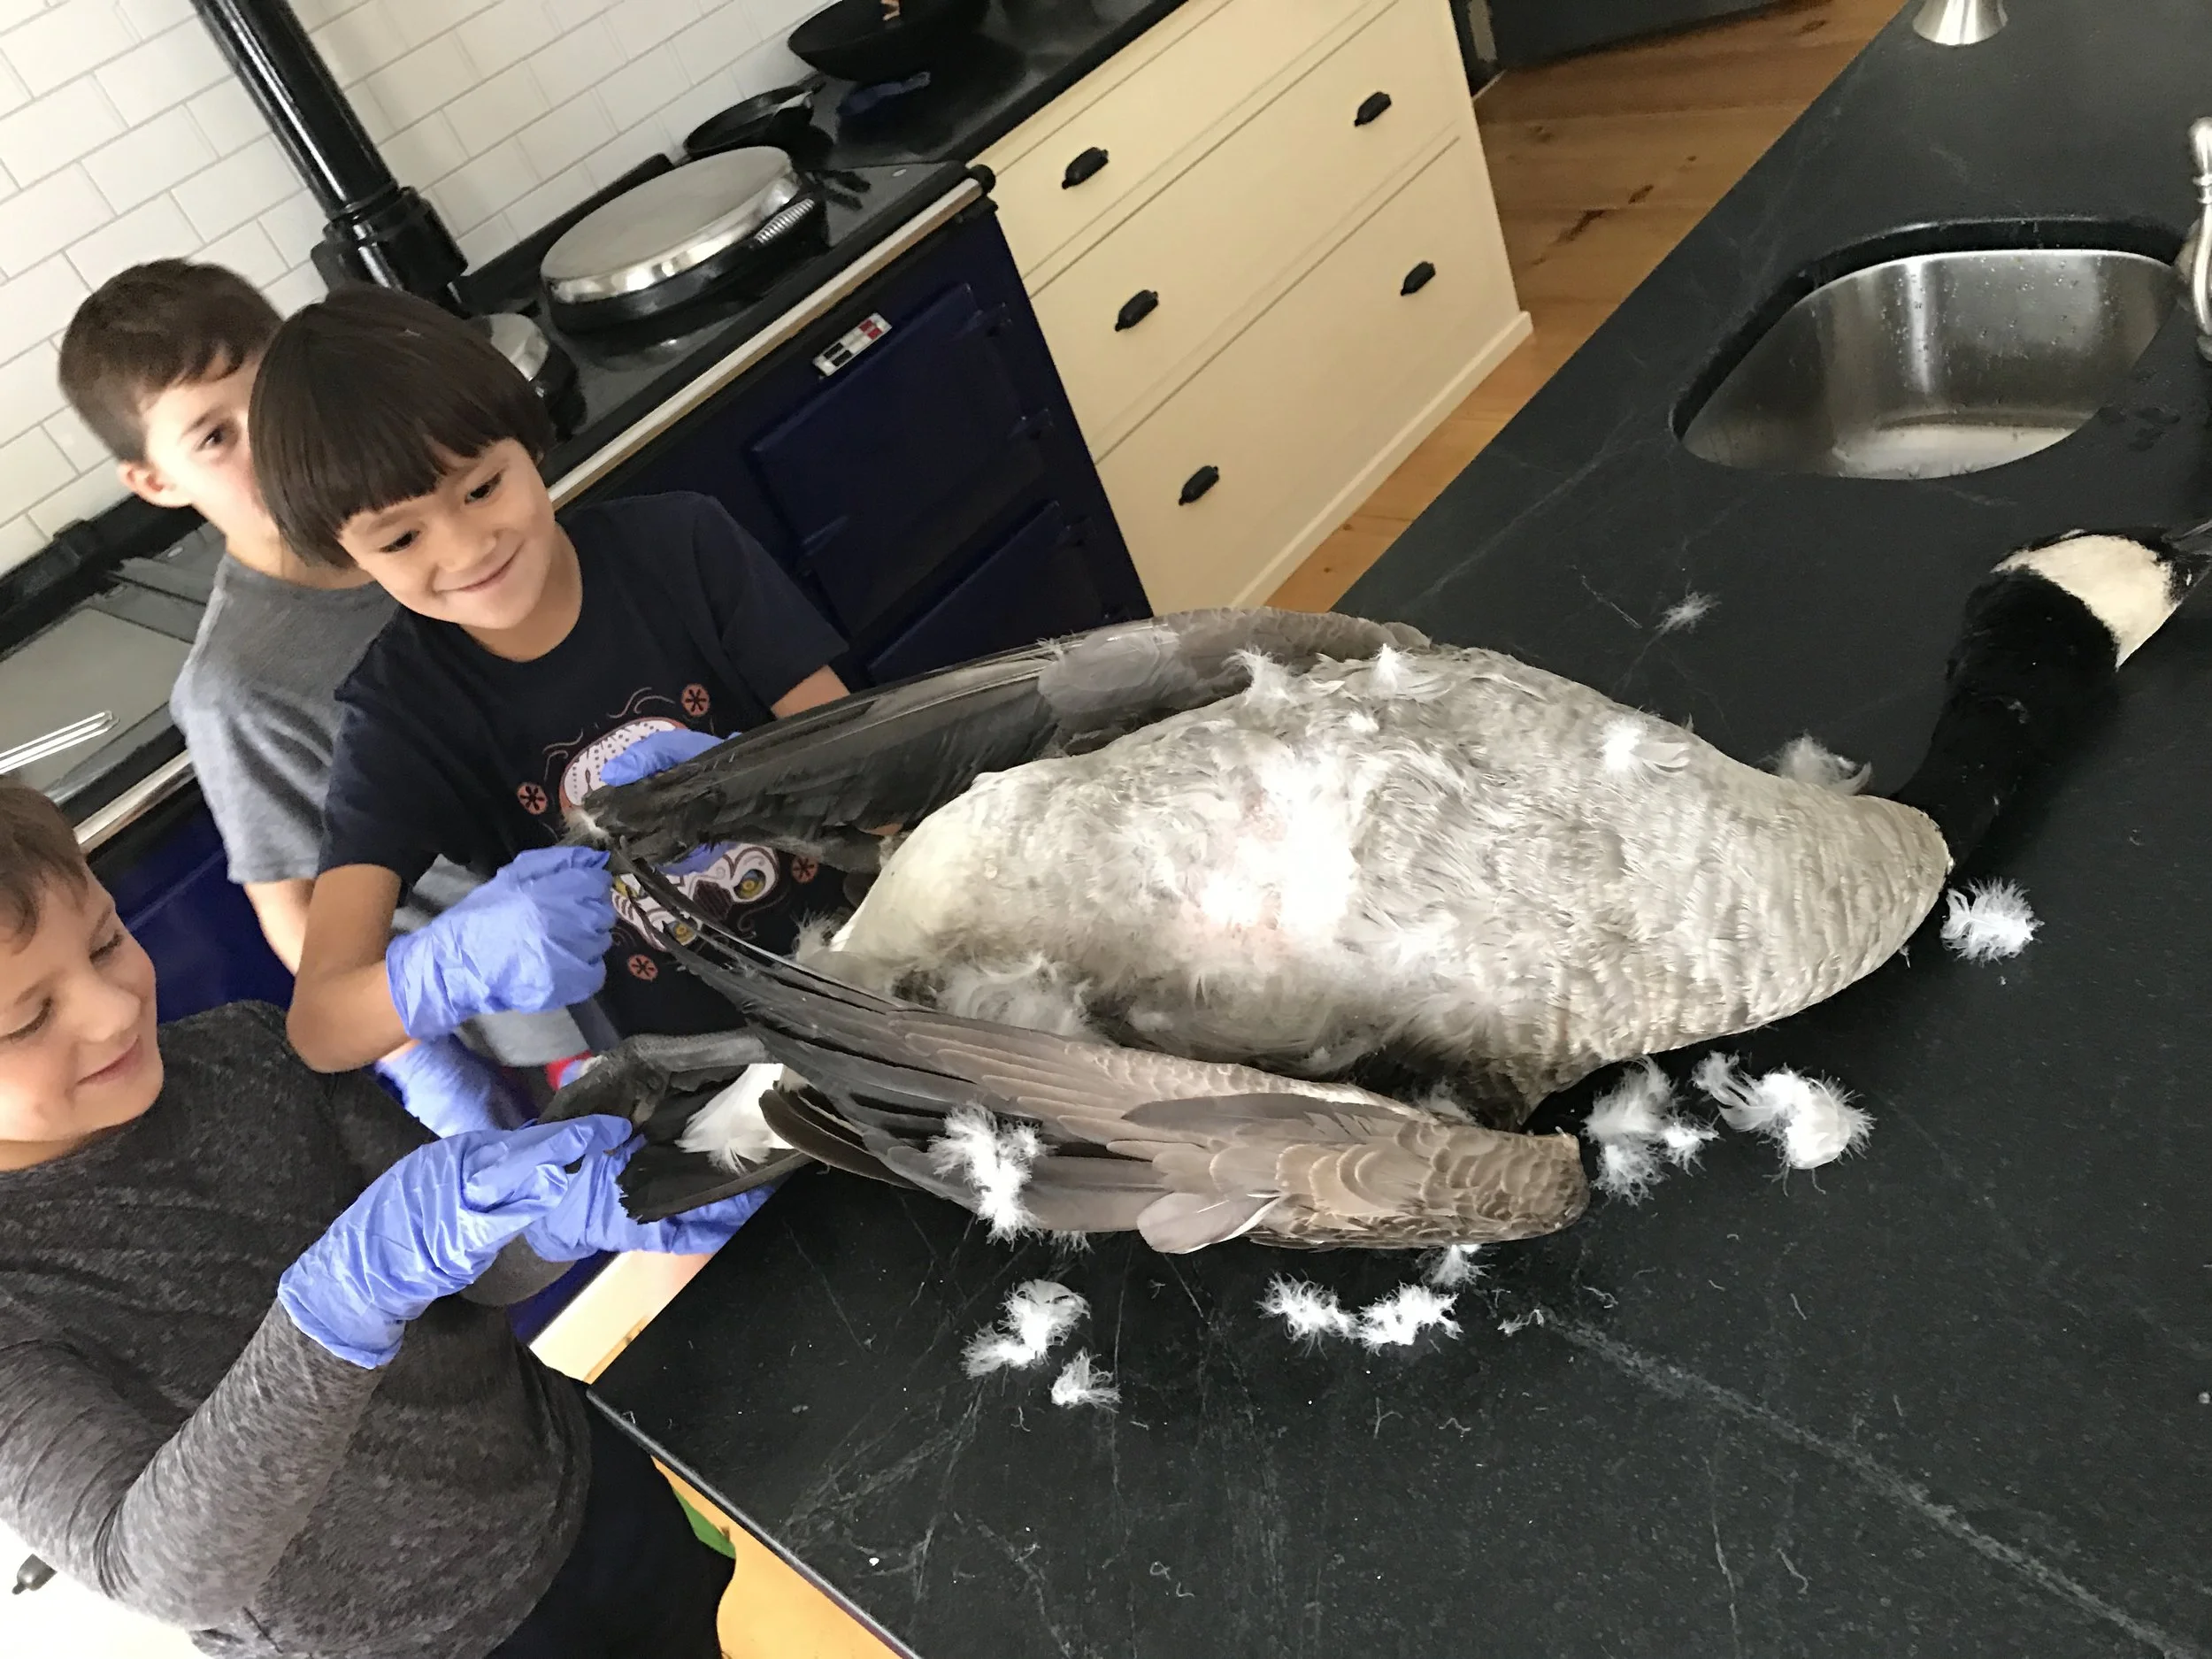
I took it down and brought it in the kitchen to pluck. I knew I'd have a bit of mess to clean up, but it was 20 degrees outside, and that was a bit too cold for me. Fortunately, the Boy had some friends over, and I ended up with a few helpers. 

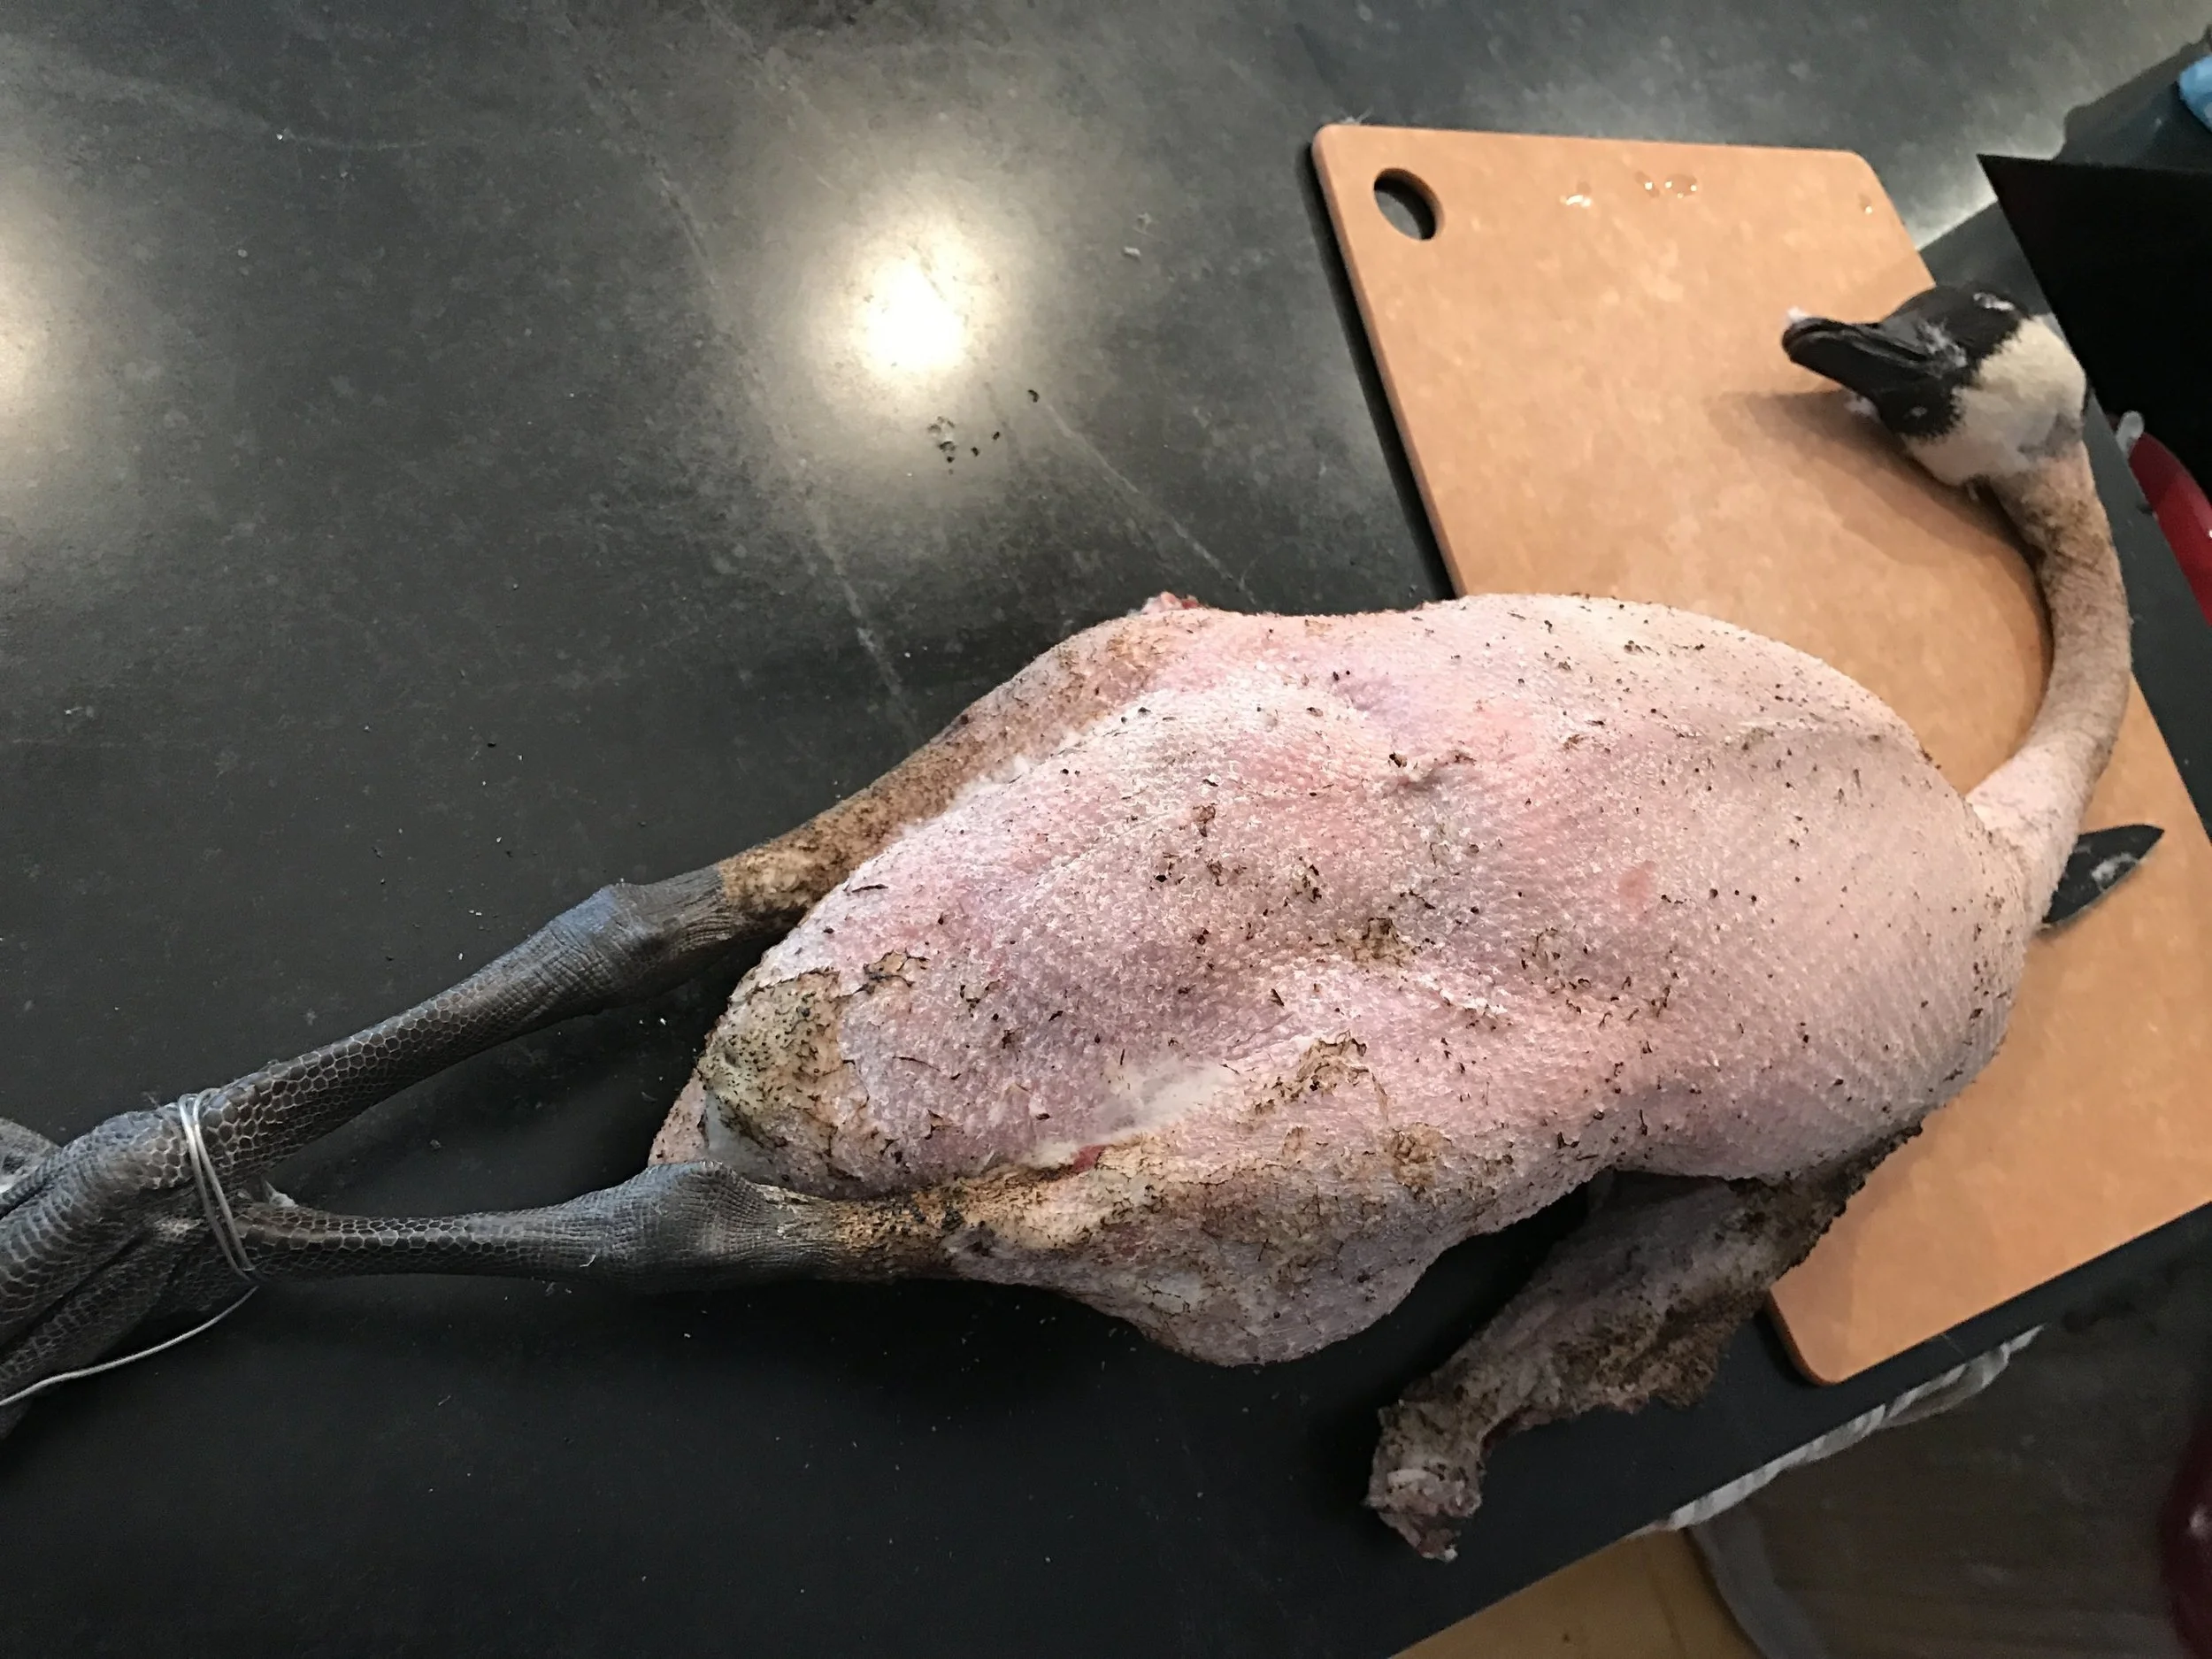
This goose was really beautiful. I followed the same process as before - it was a bit quicker, and I was a bit more comfortable with the whole thing this time around. There's a point where the bird turns from "goose" to "meat" when you do this, and your brain switches into the same comfort level that you'd have in cleaning a turkey you brought home from the store. 

I was, however, especially careful with the real prize of this bird: the neck. 

Years ago, I had watched an episode of River Cottage, and Hugh Fearnley-Whittingstall dress out a goose and set the neck aside for a special treat. A stuffed goose neck sausage. 

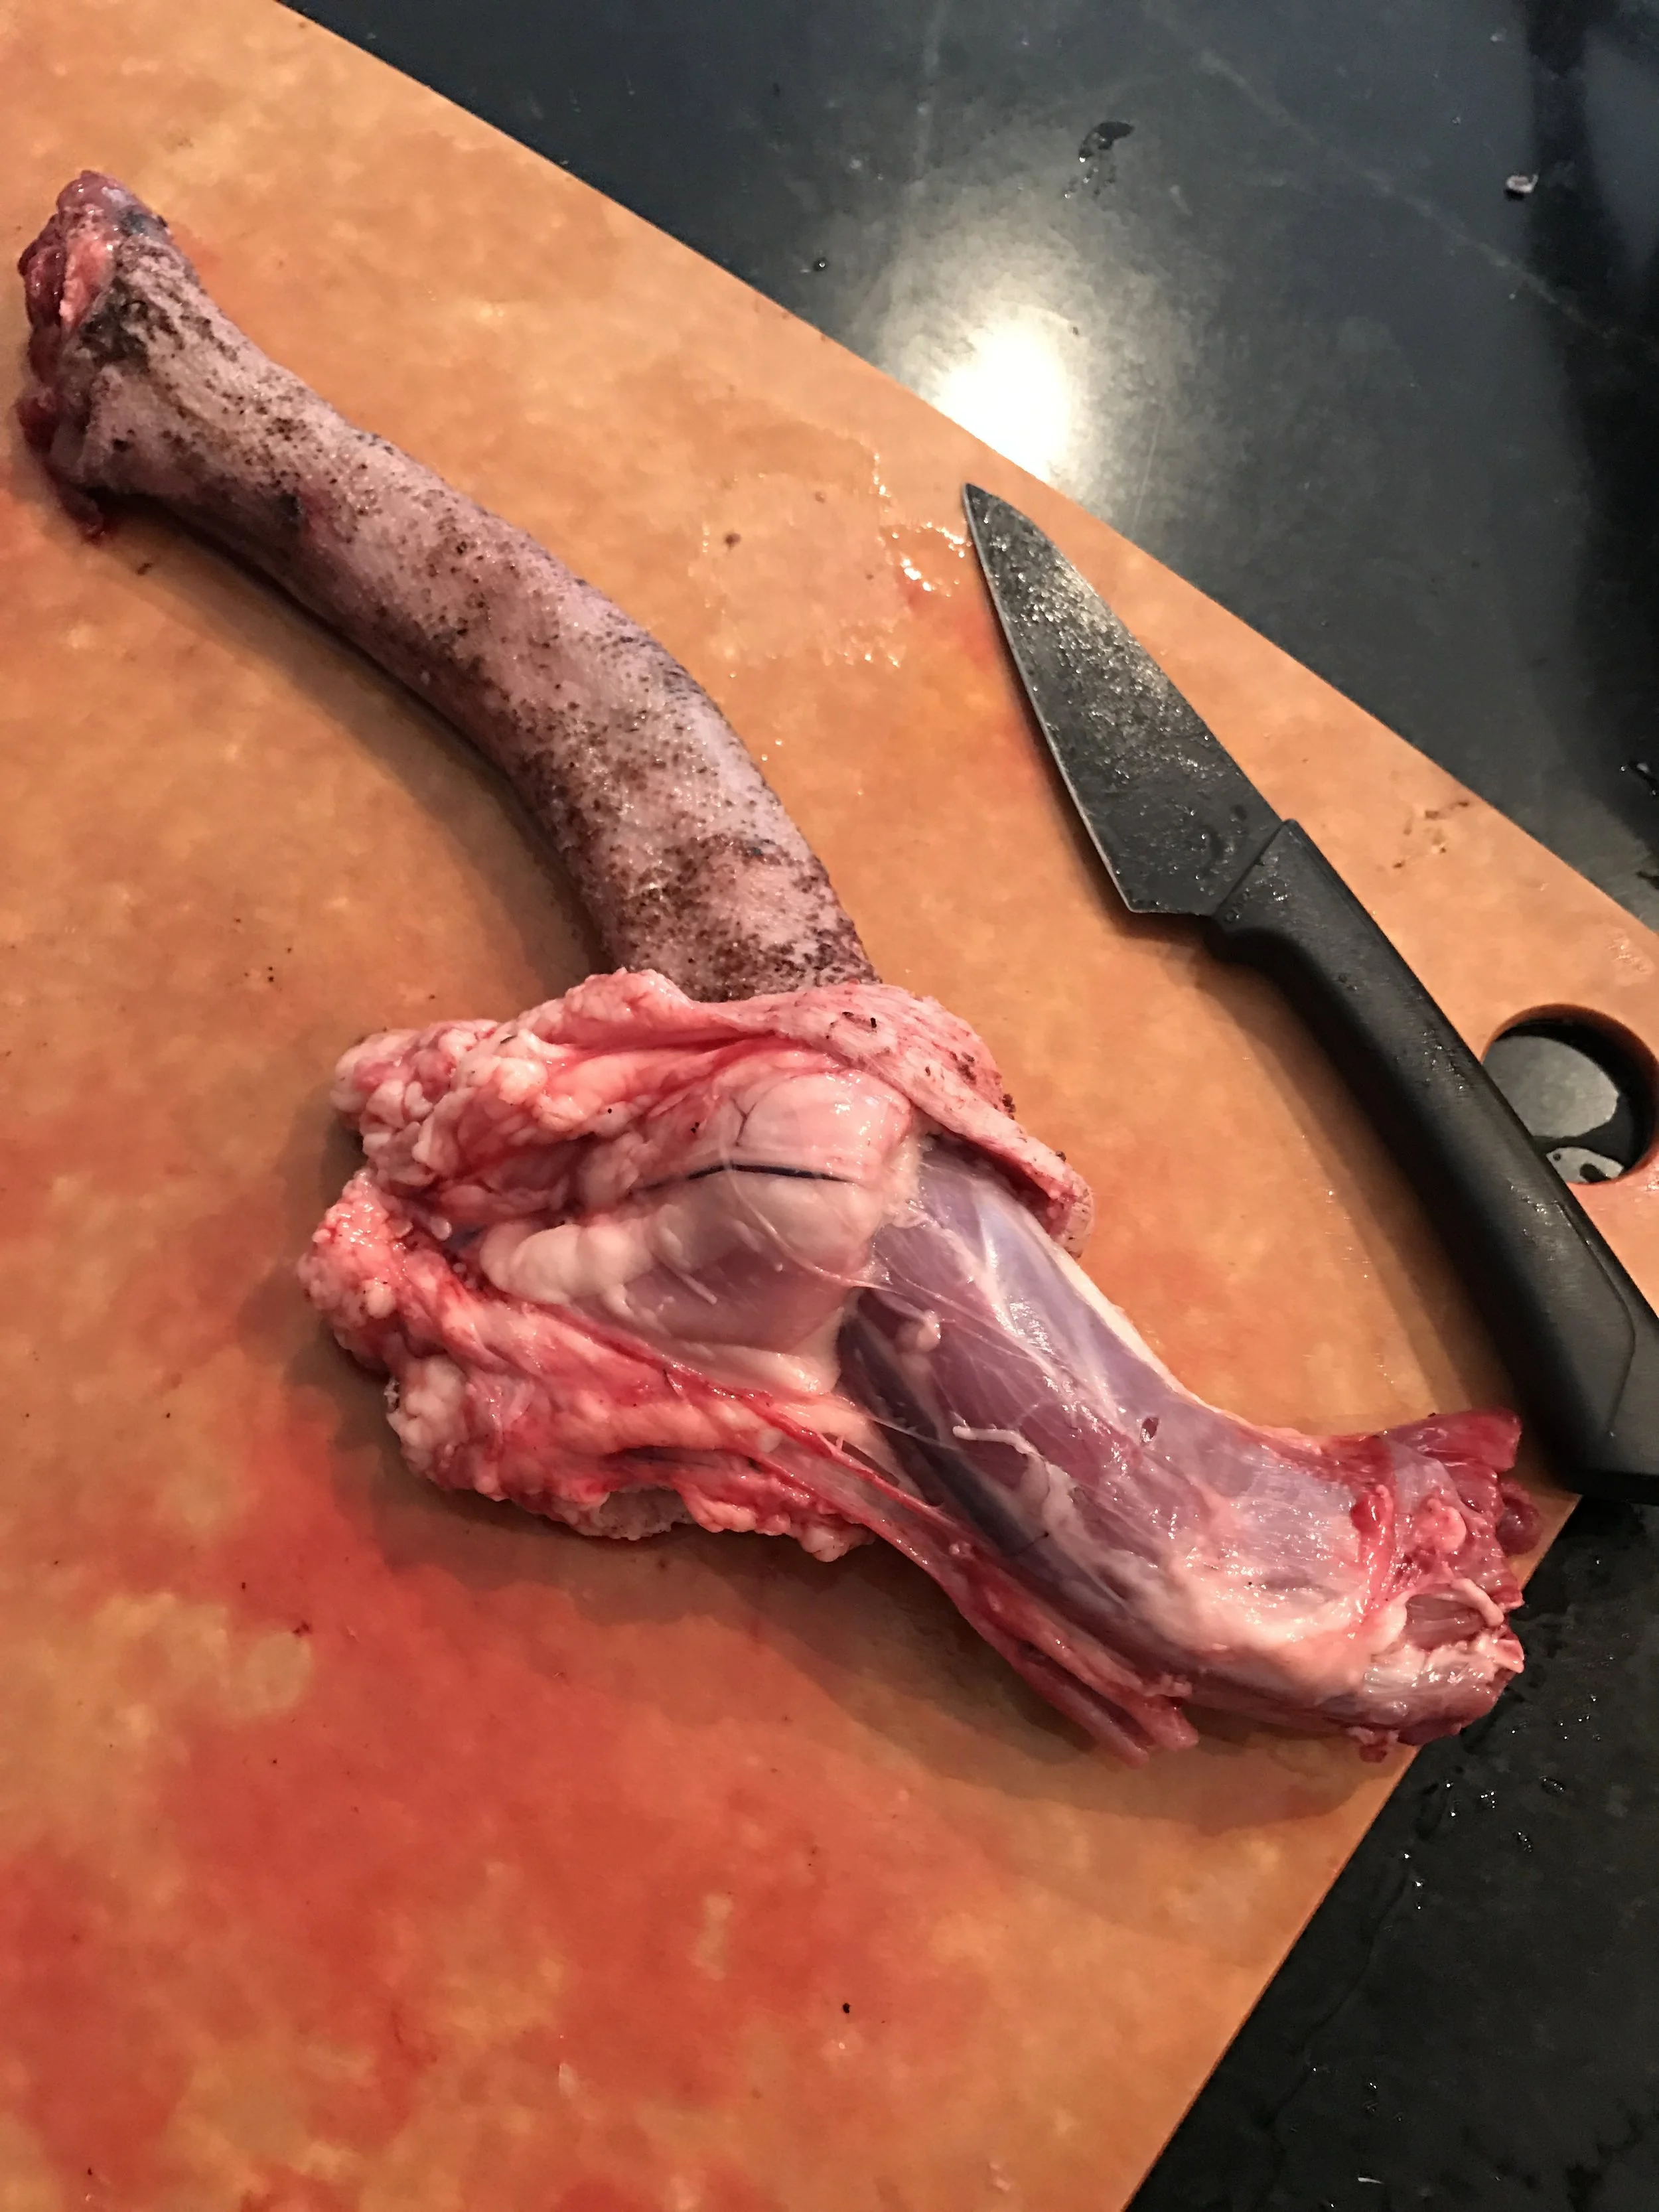
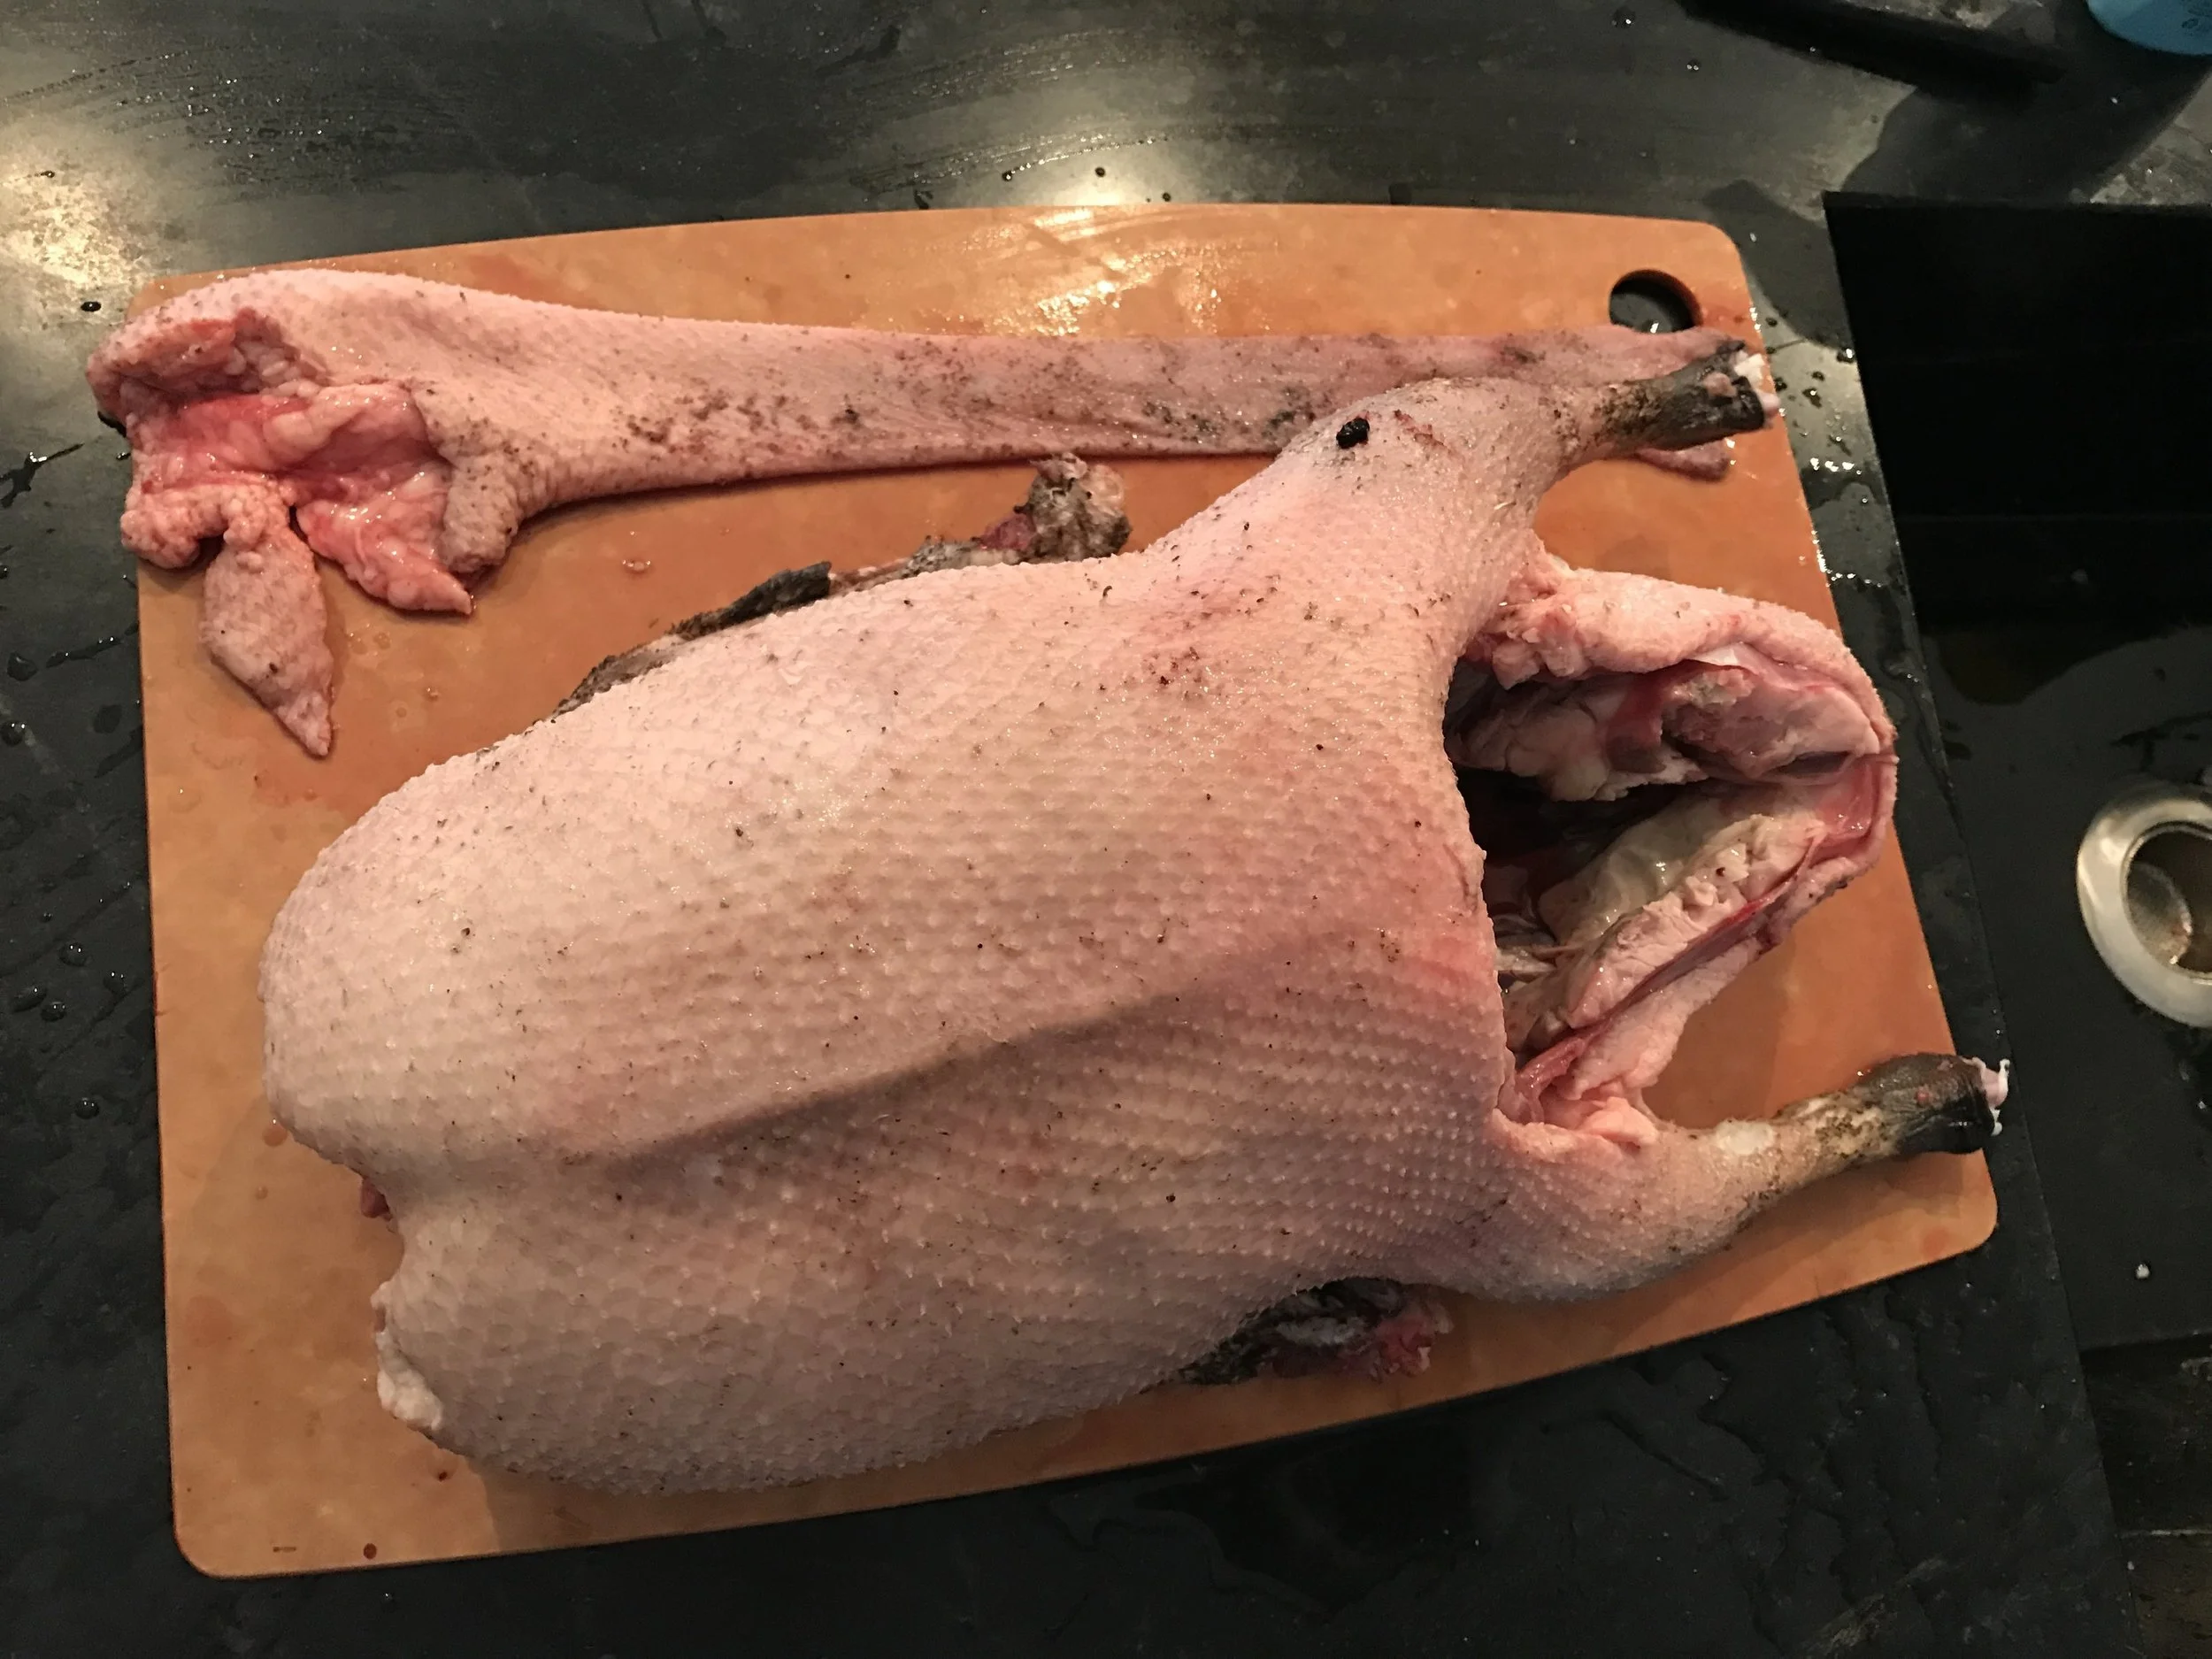
I have since found several recipes for this, from River Cottage and Darina Allen. Variations on the theme and method, but they all start by peeling the fatty skin back off the neck, taking care to keep it intact as one long 'tube'.  

We've bought several geese from the butcher over the years (goose is always on the Christmas dinner menu), but none of them ever come whole, or with the neck. They're prettily dressed and wrapped, just like the Butterball turkey you pick up at your local grocery. So this was a real treat. 

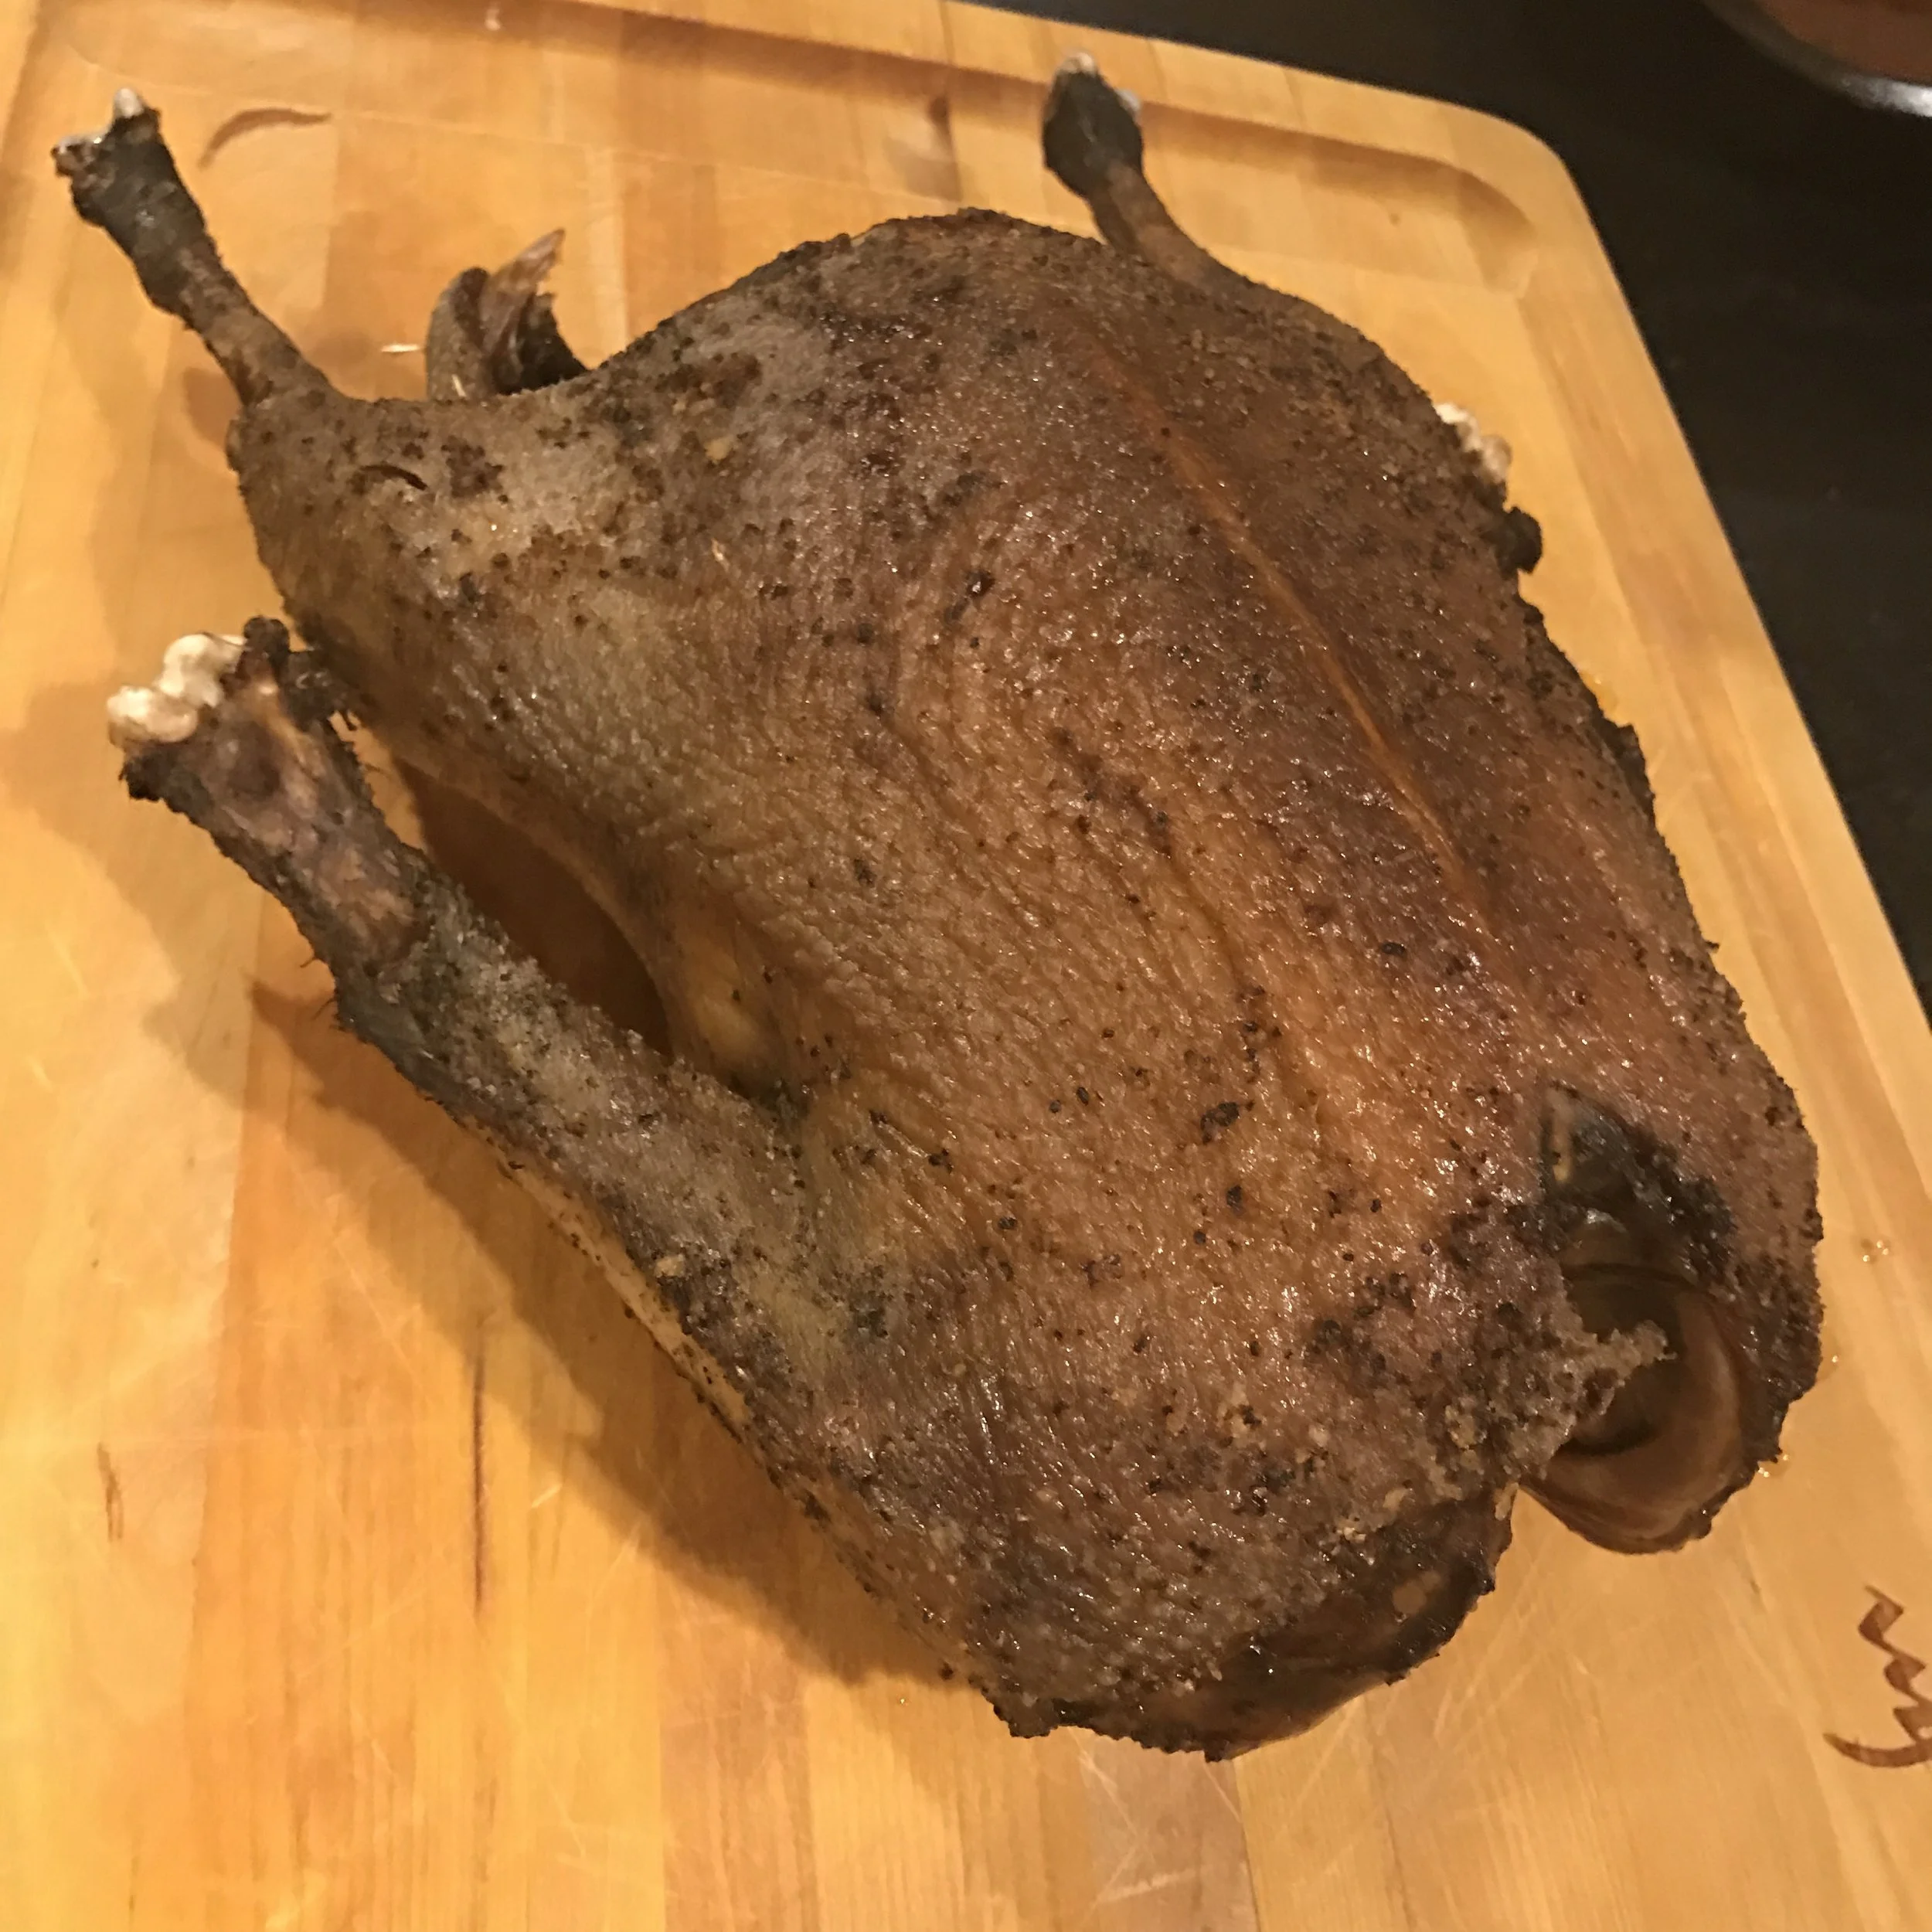
The goose roasted gorgeously, shedding tons of crystal clear fat, and browning deliciously. It wasn't quite as pretty as a farm raised goose, but I have to say I'm pretty proud of the way it turned out. 

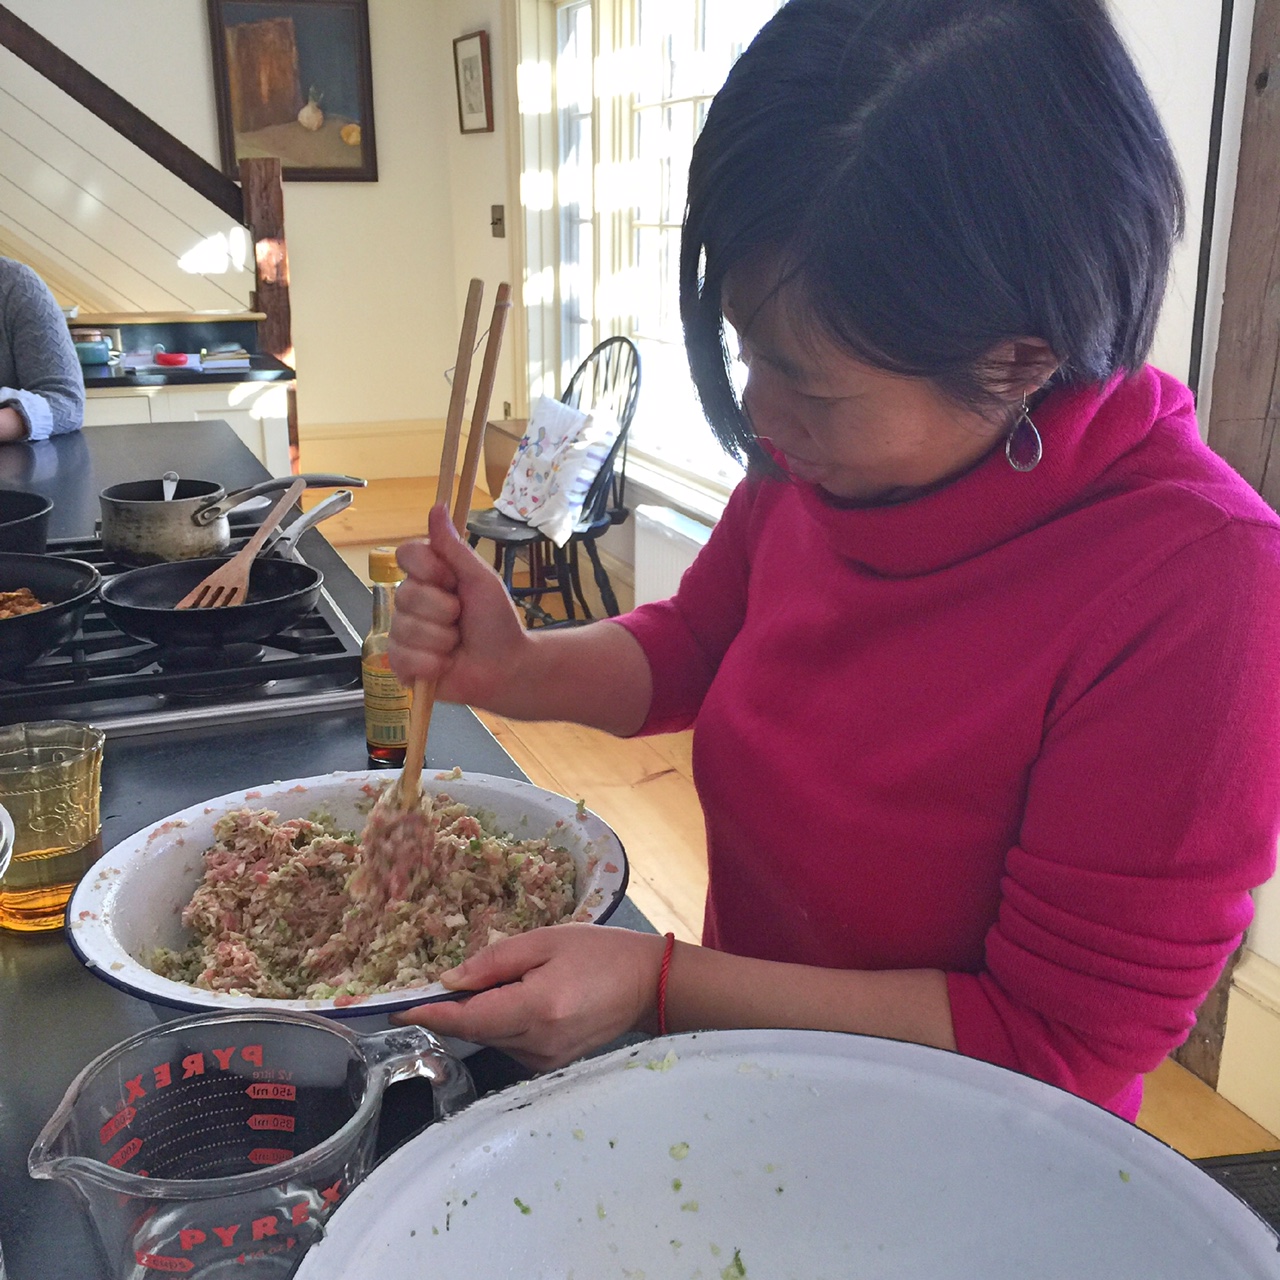
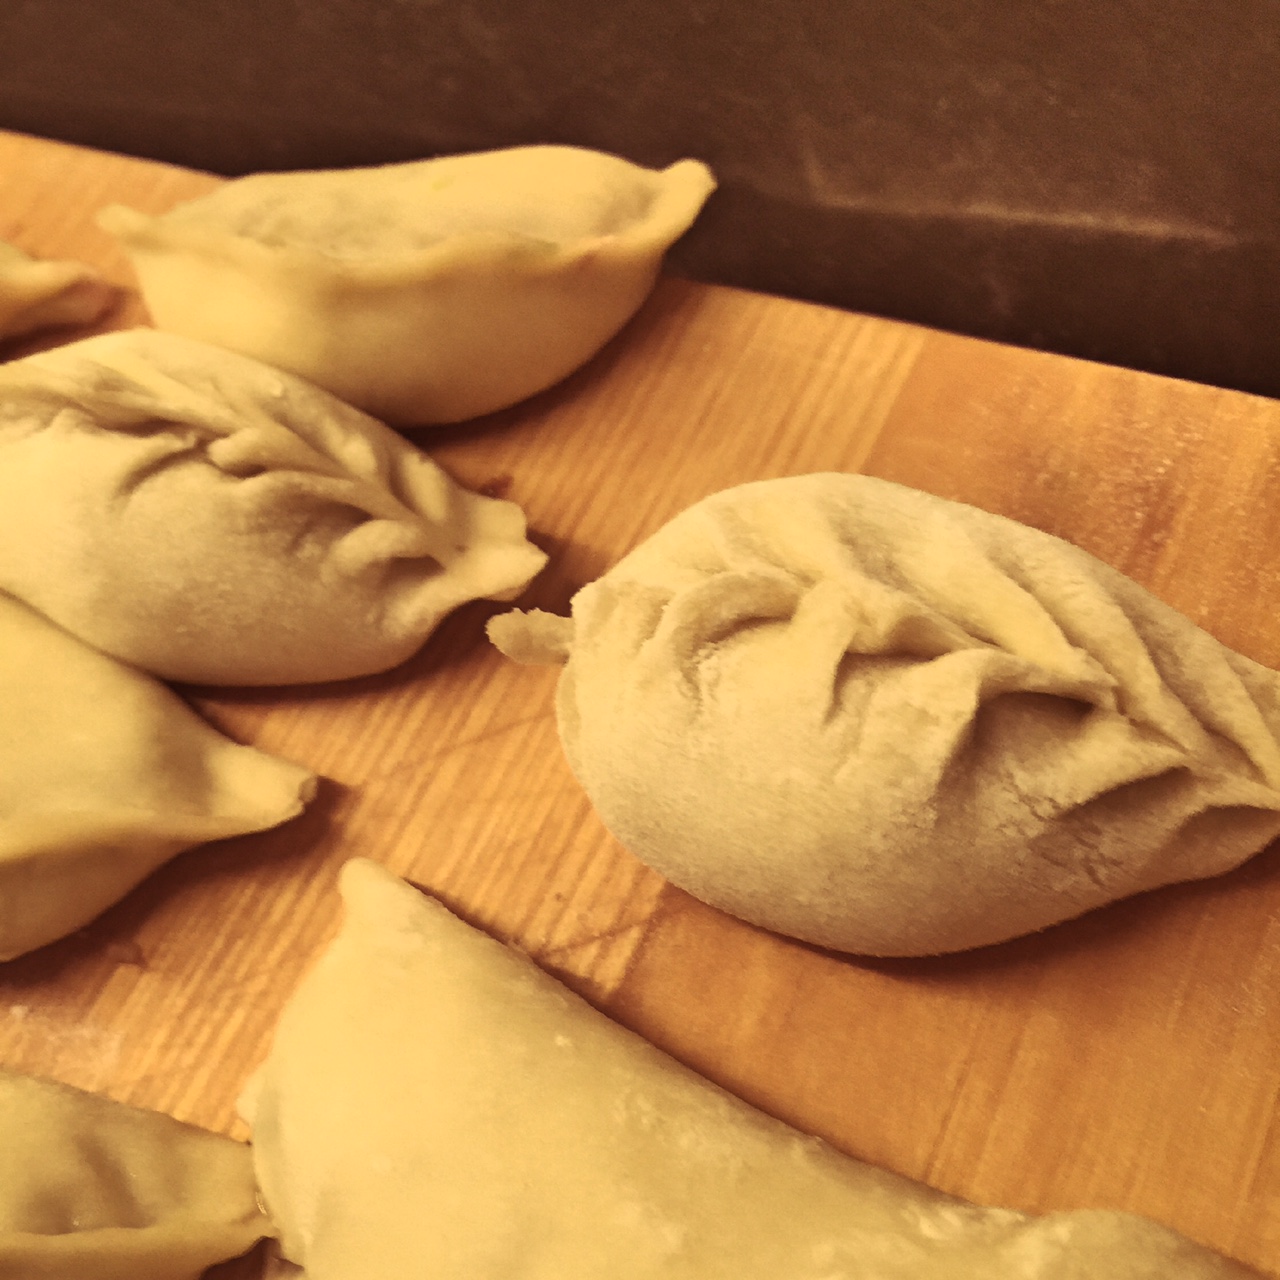
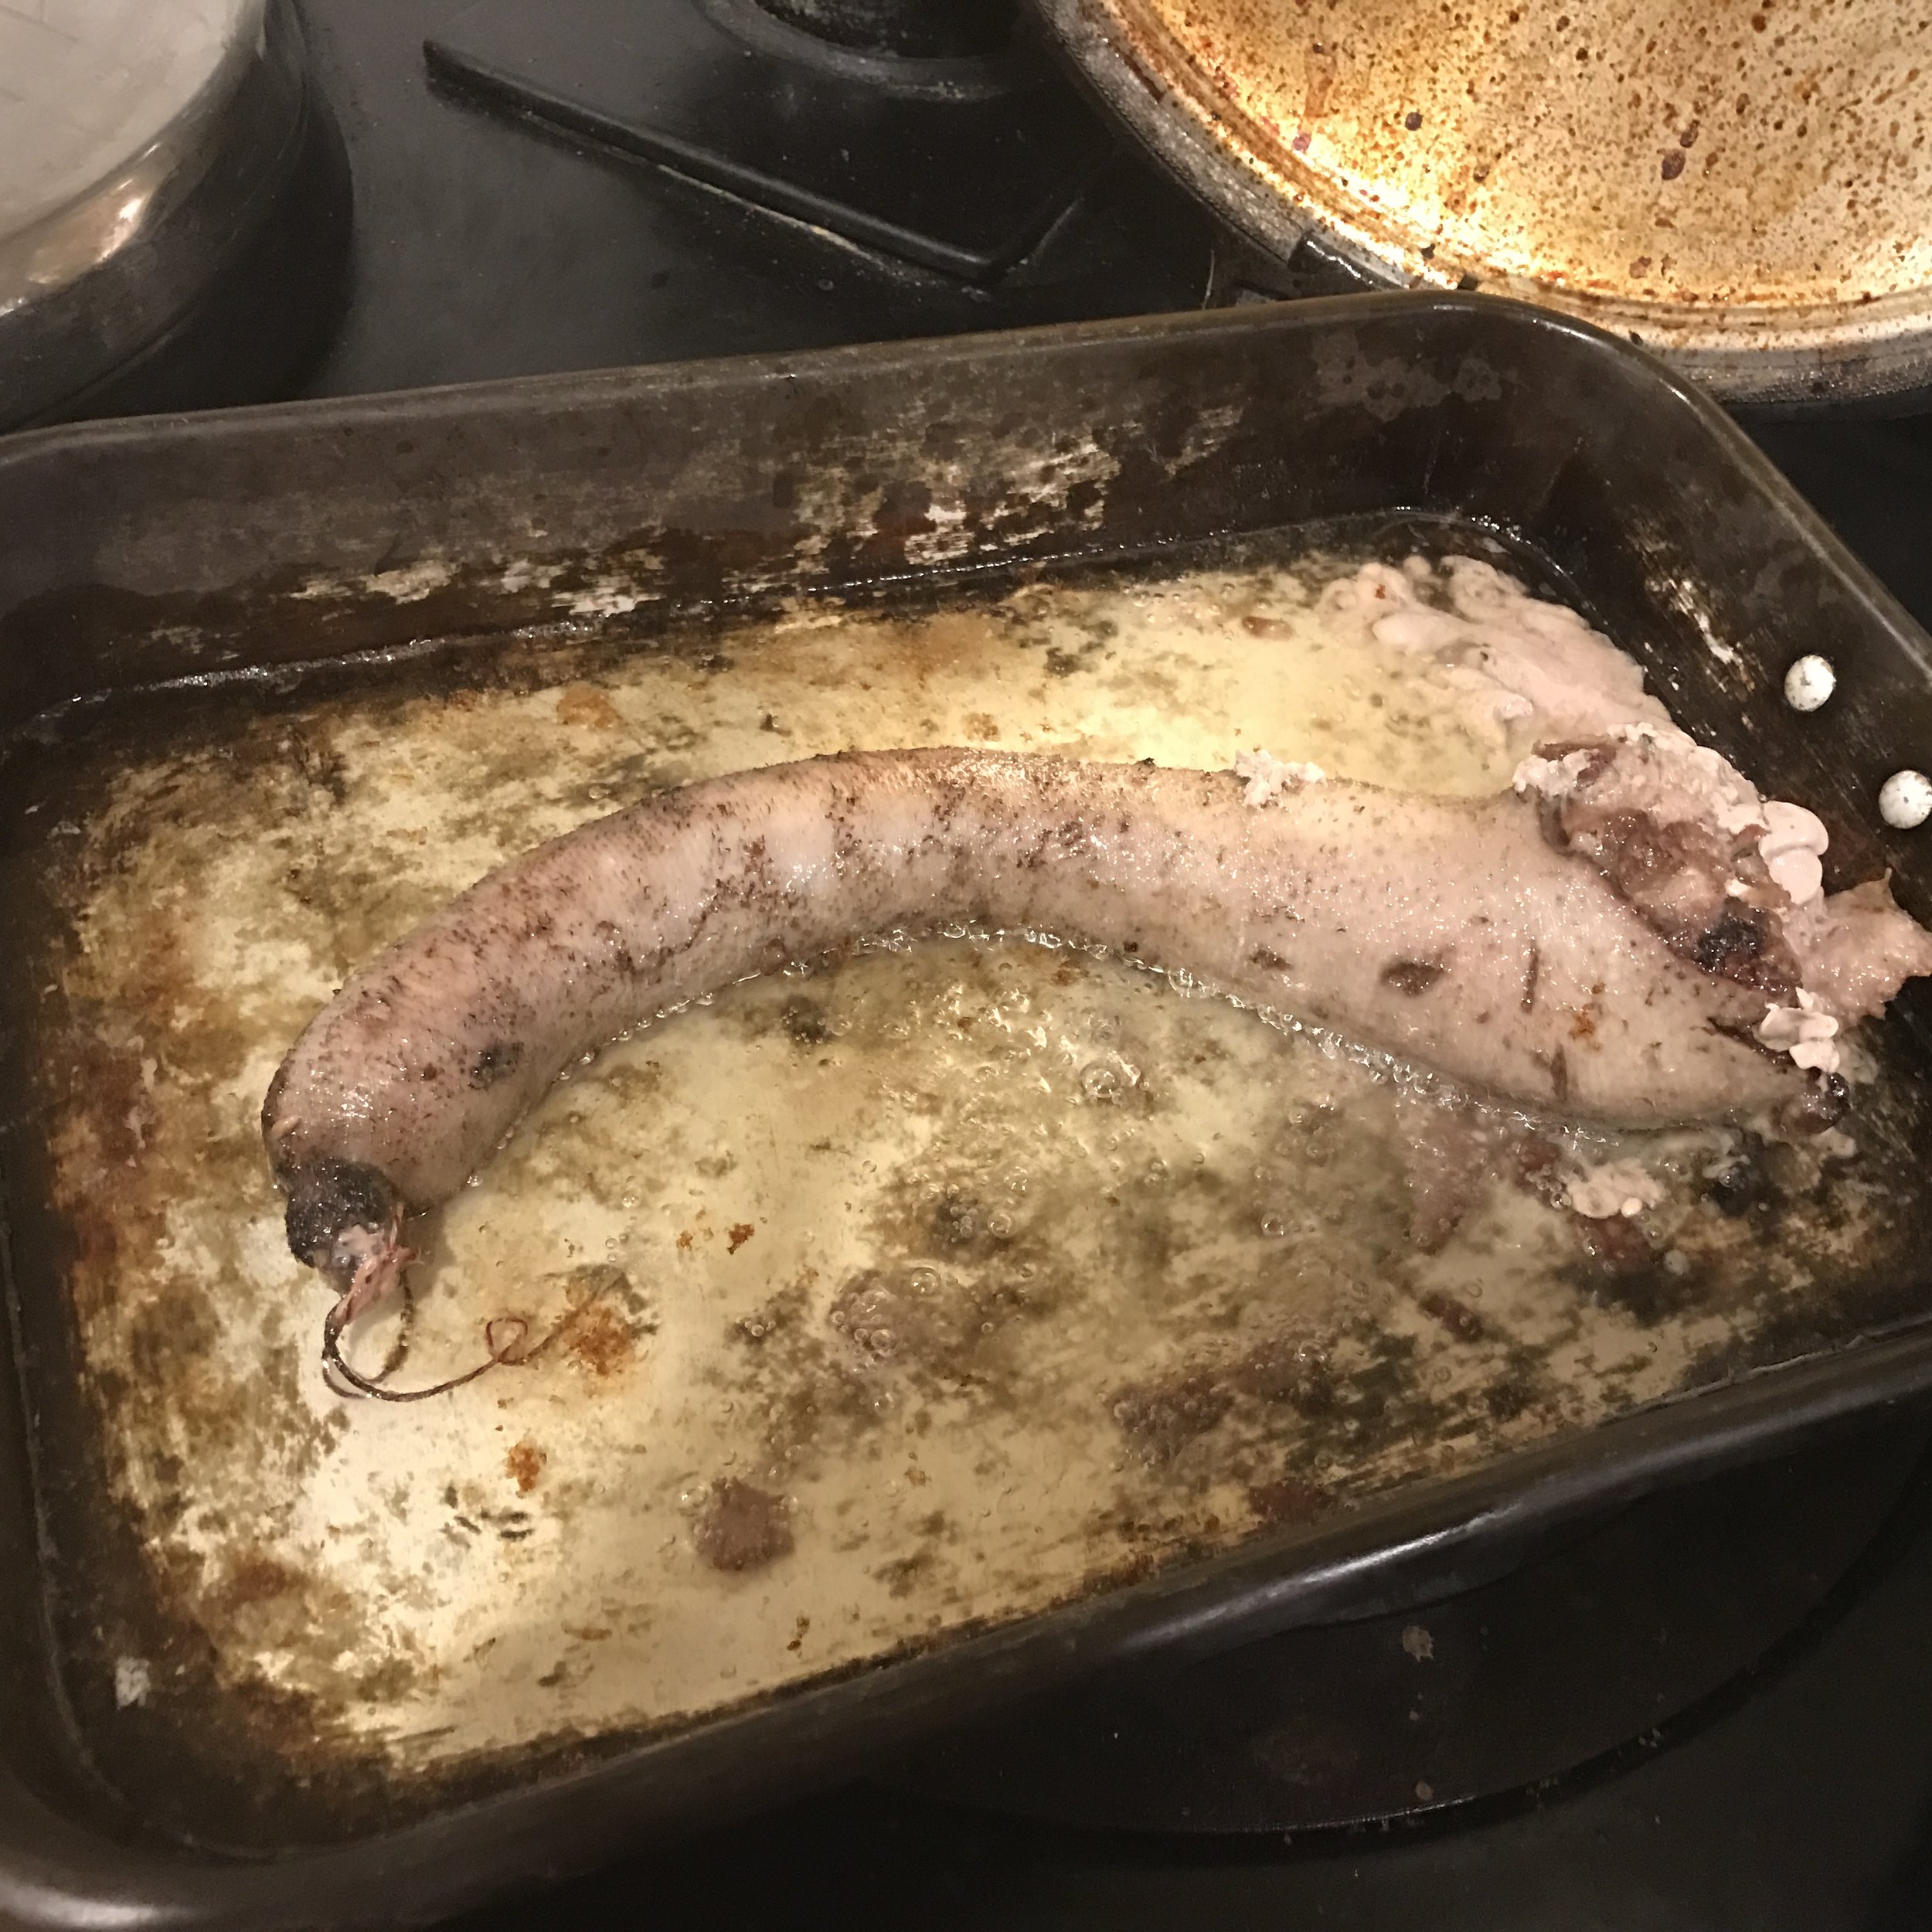
I turned my attention to the neck - I stuffed it with a pork sausage (ground fresh from our pigs), mixed with diced bacon (again: our pigs), sage, thyme, salt, white pepper and a little brandy. Little bits of goose trim - heart, liver, etc. - cooked and chopped are also acceptable. 

Tie the little end of the neck up with some kitchen twine, and I set it into some goose fat to crisp the skin a bit. 10 minutes or so on a side. Then put into the oven at 300F for 30 minutes. 

The next step took me out into the snow for a bit. 

I cranked my smoker up to 275F, and put the neck sausage in for 45 minutes, with some peach wood. You can see that I didn't seal up the 'fat' end of the neck (where the neck joined the shoulders of the bird). But that's ok. I just took care to fold the loose flaps over the sausage. 

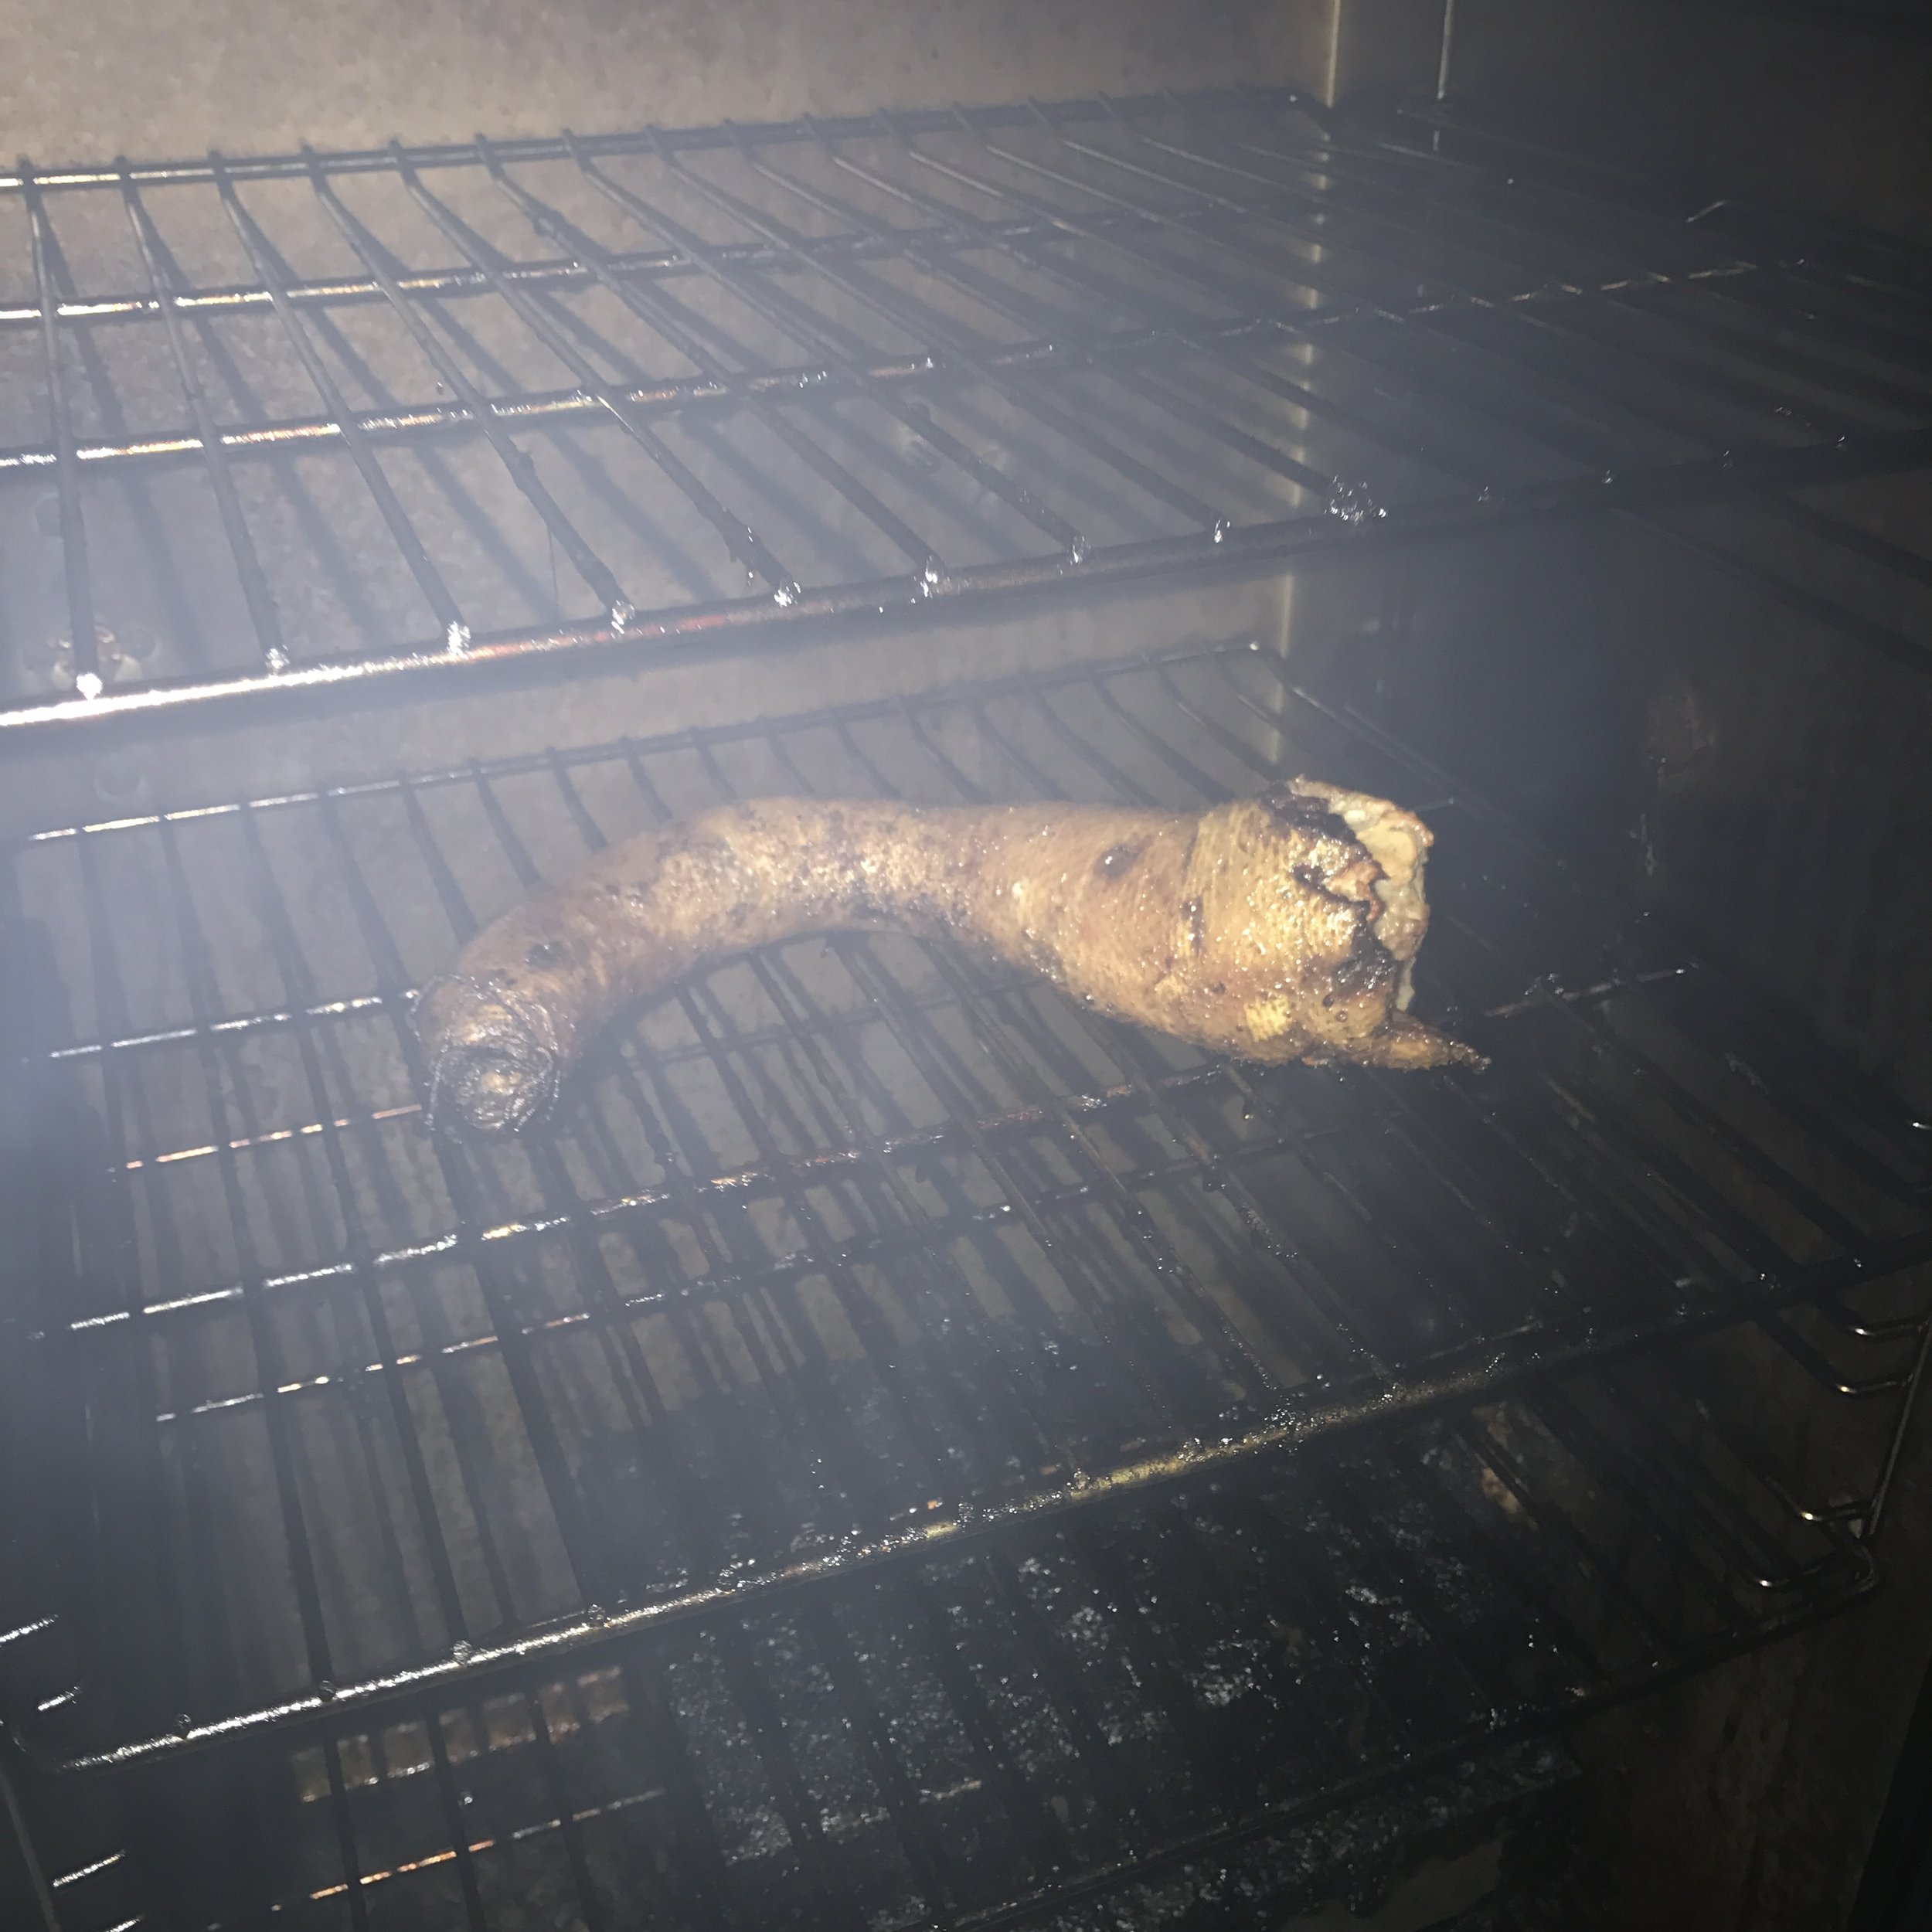
Oh this thing is beautiful. 

Every time I opened the door to check (I had to force myself not to check every 3 minutes), my nostrils were filled with the delicious smell of the meat and woodsmoke. I was practically dancing in anticipation. 

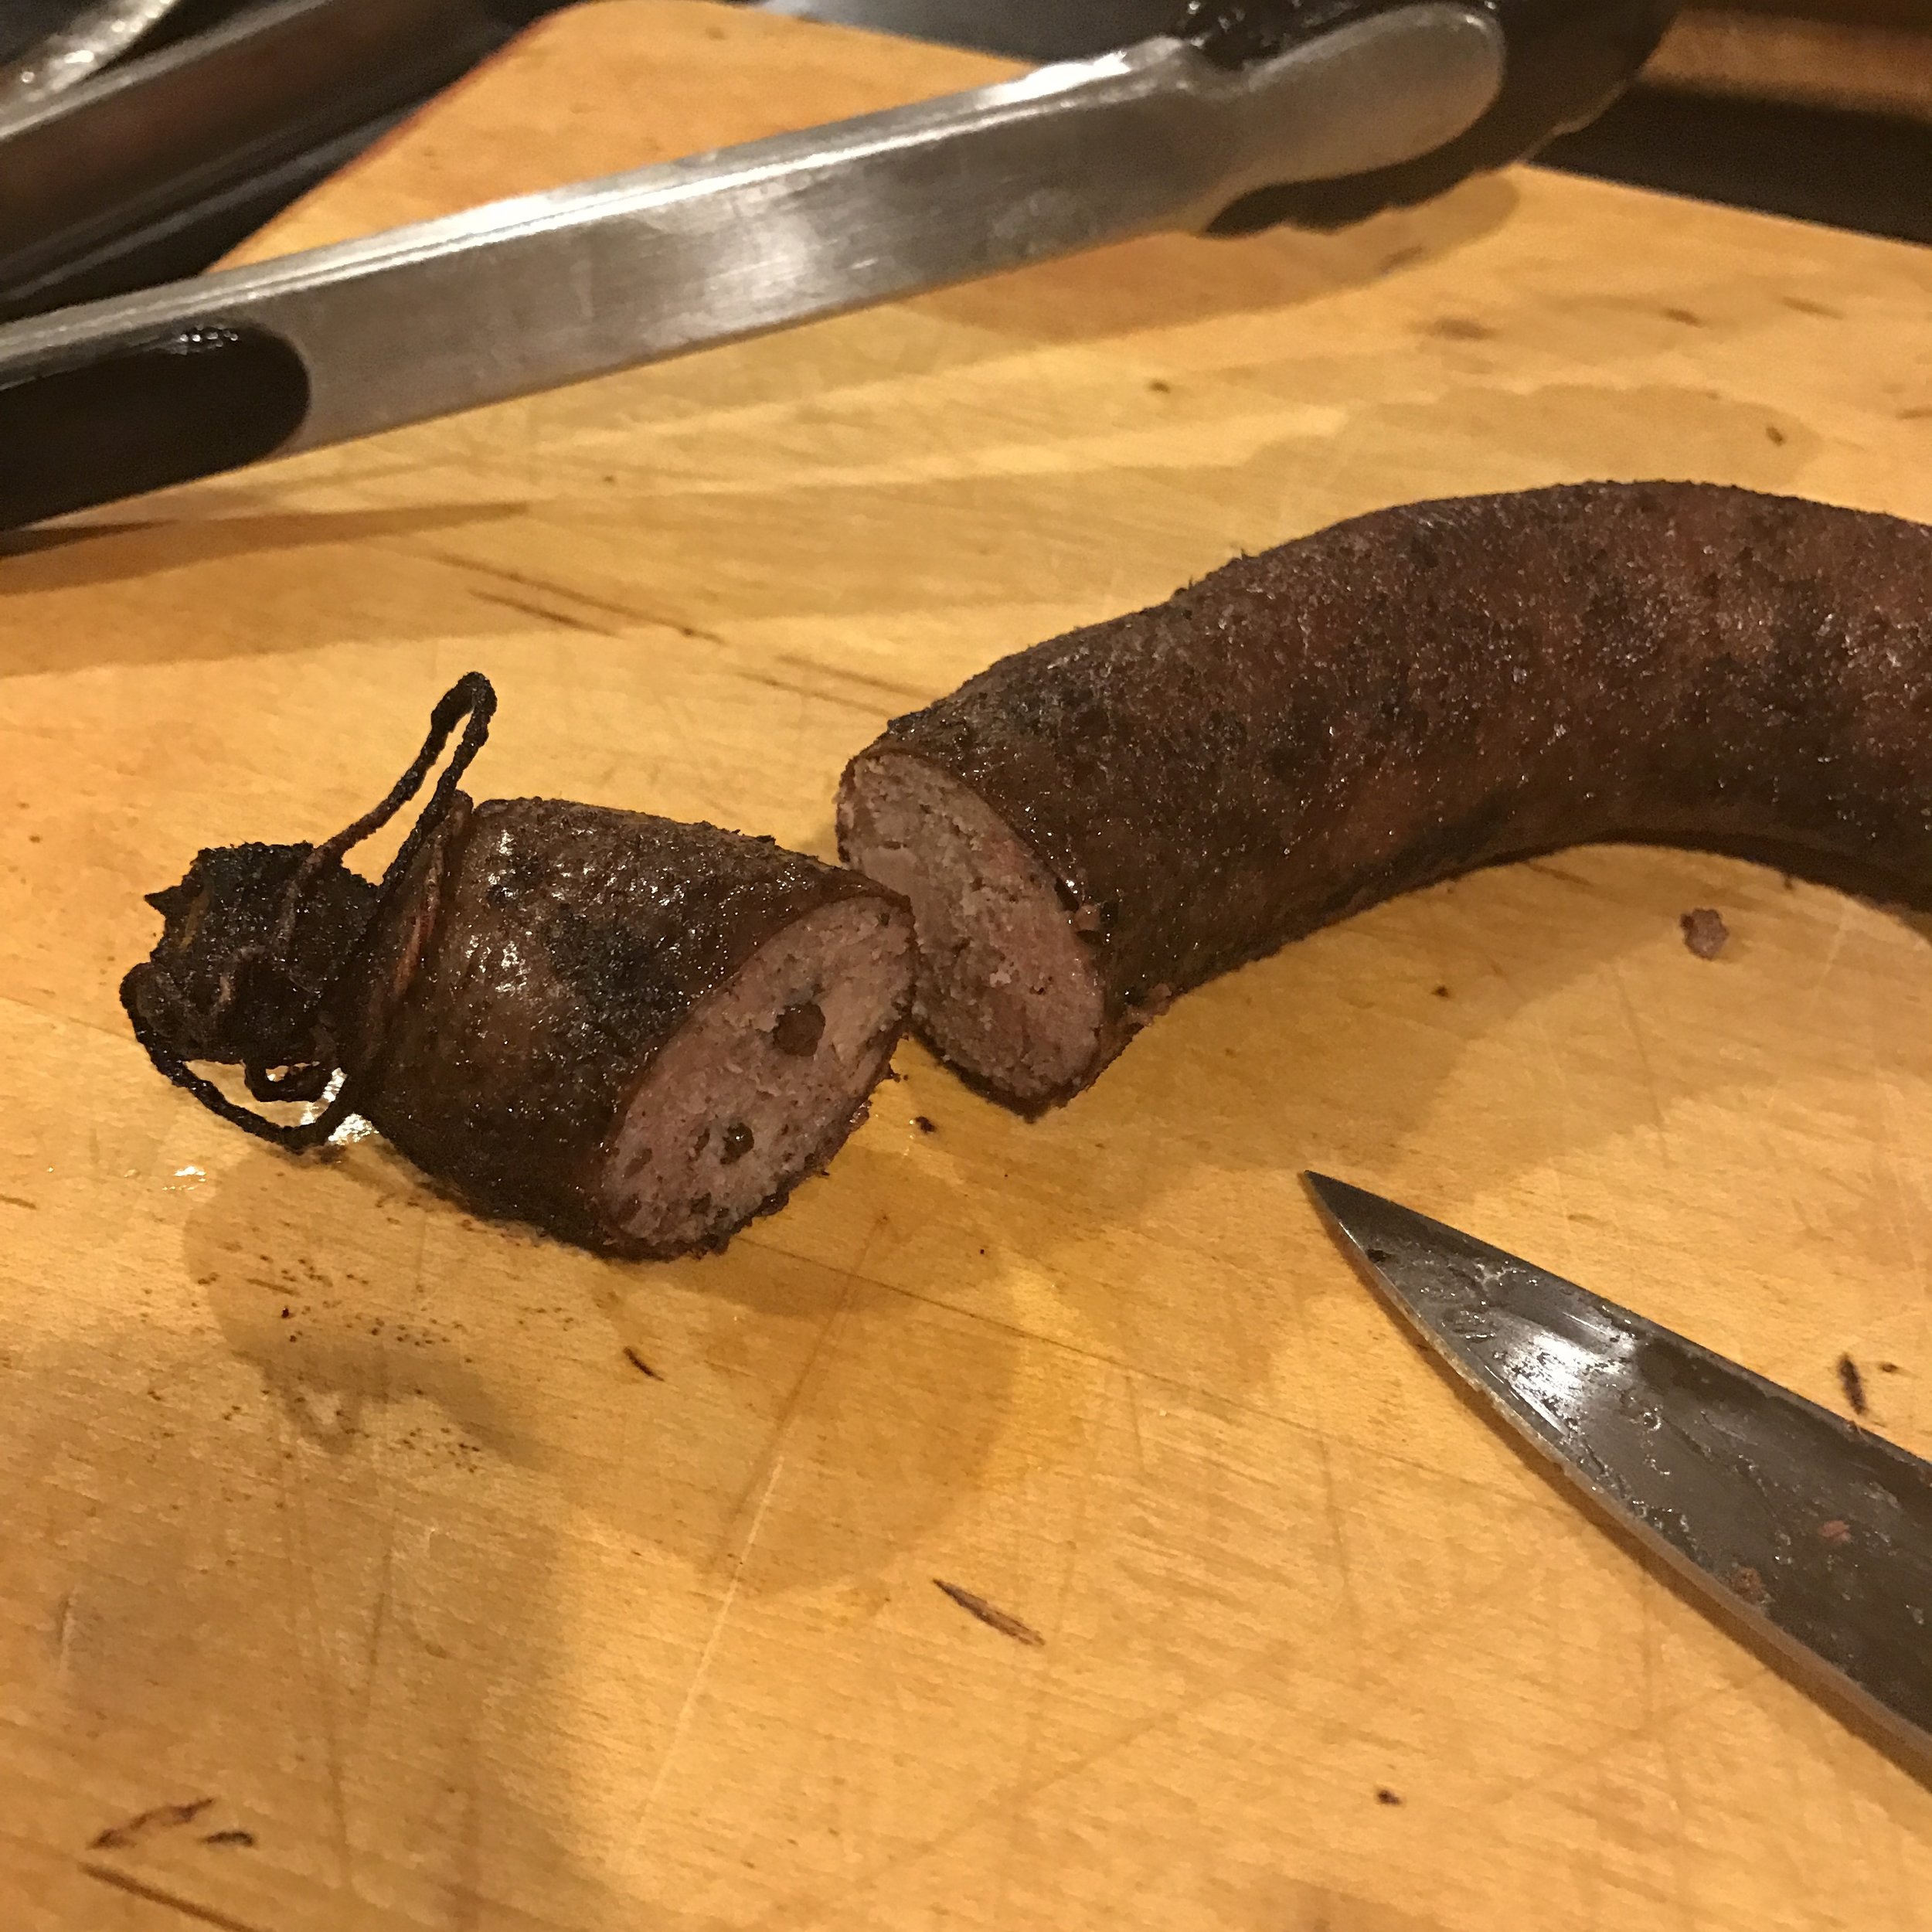
When I pulled it out of the smoker, I slipped it back into the fat and the oven to crisp a bit longer (maybe 10 minutes) while I carved the rest of the goose. (I've gotten pretty good at this by now, actually - taking out the whole breasts  before slicing, and taking out the thighs and other meat pretty neatly.). 

When I sliced the neck open, it looked like a perfect sausage.  The skin was nicely crisp, and the meat inside savory and a little fragrant with the smoke and herbs. 

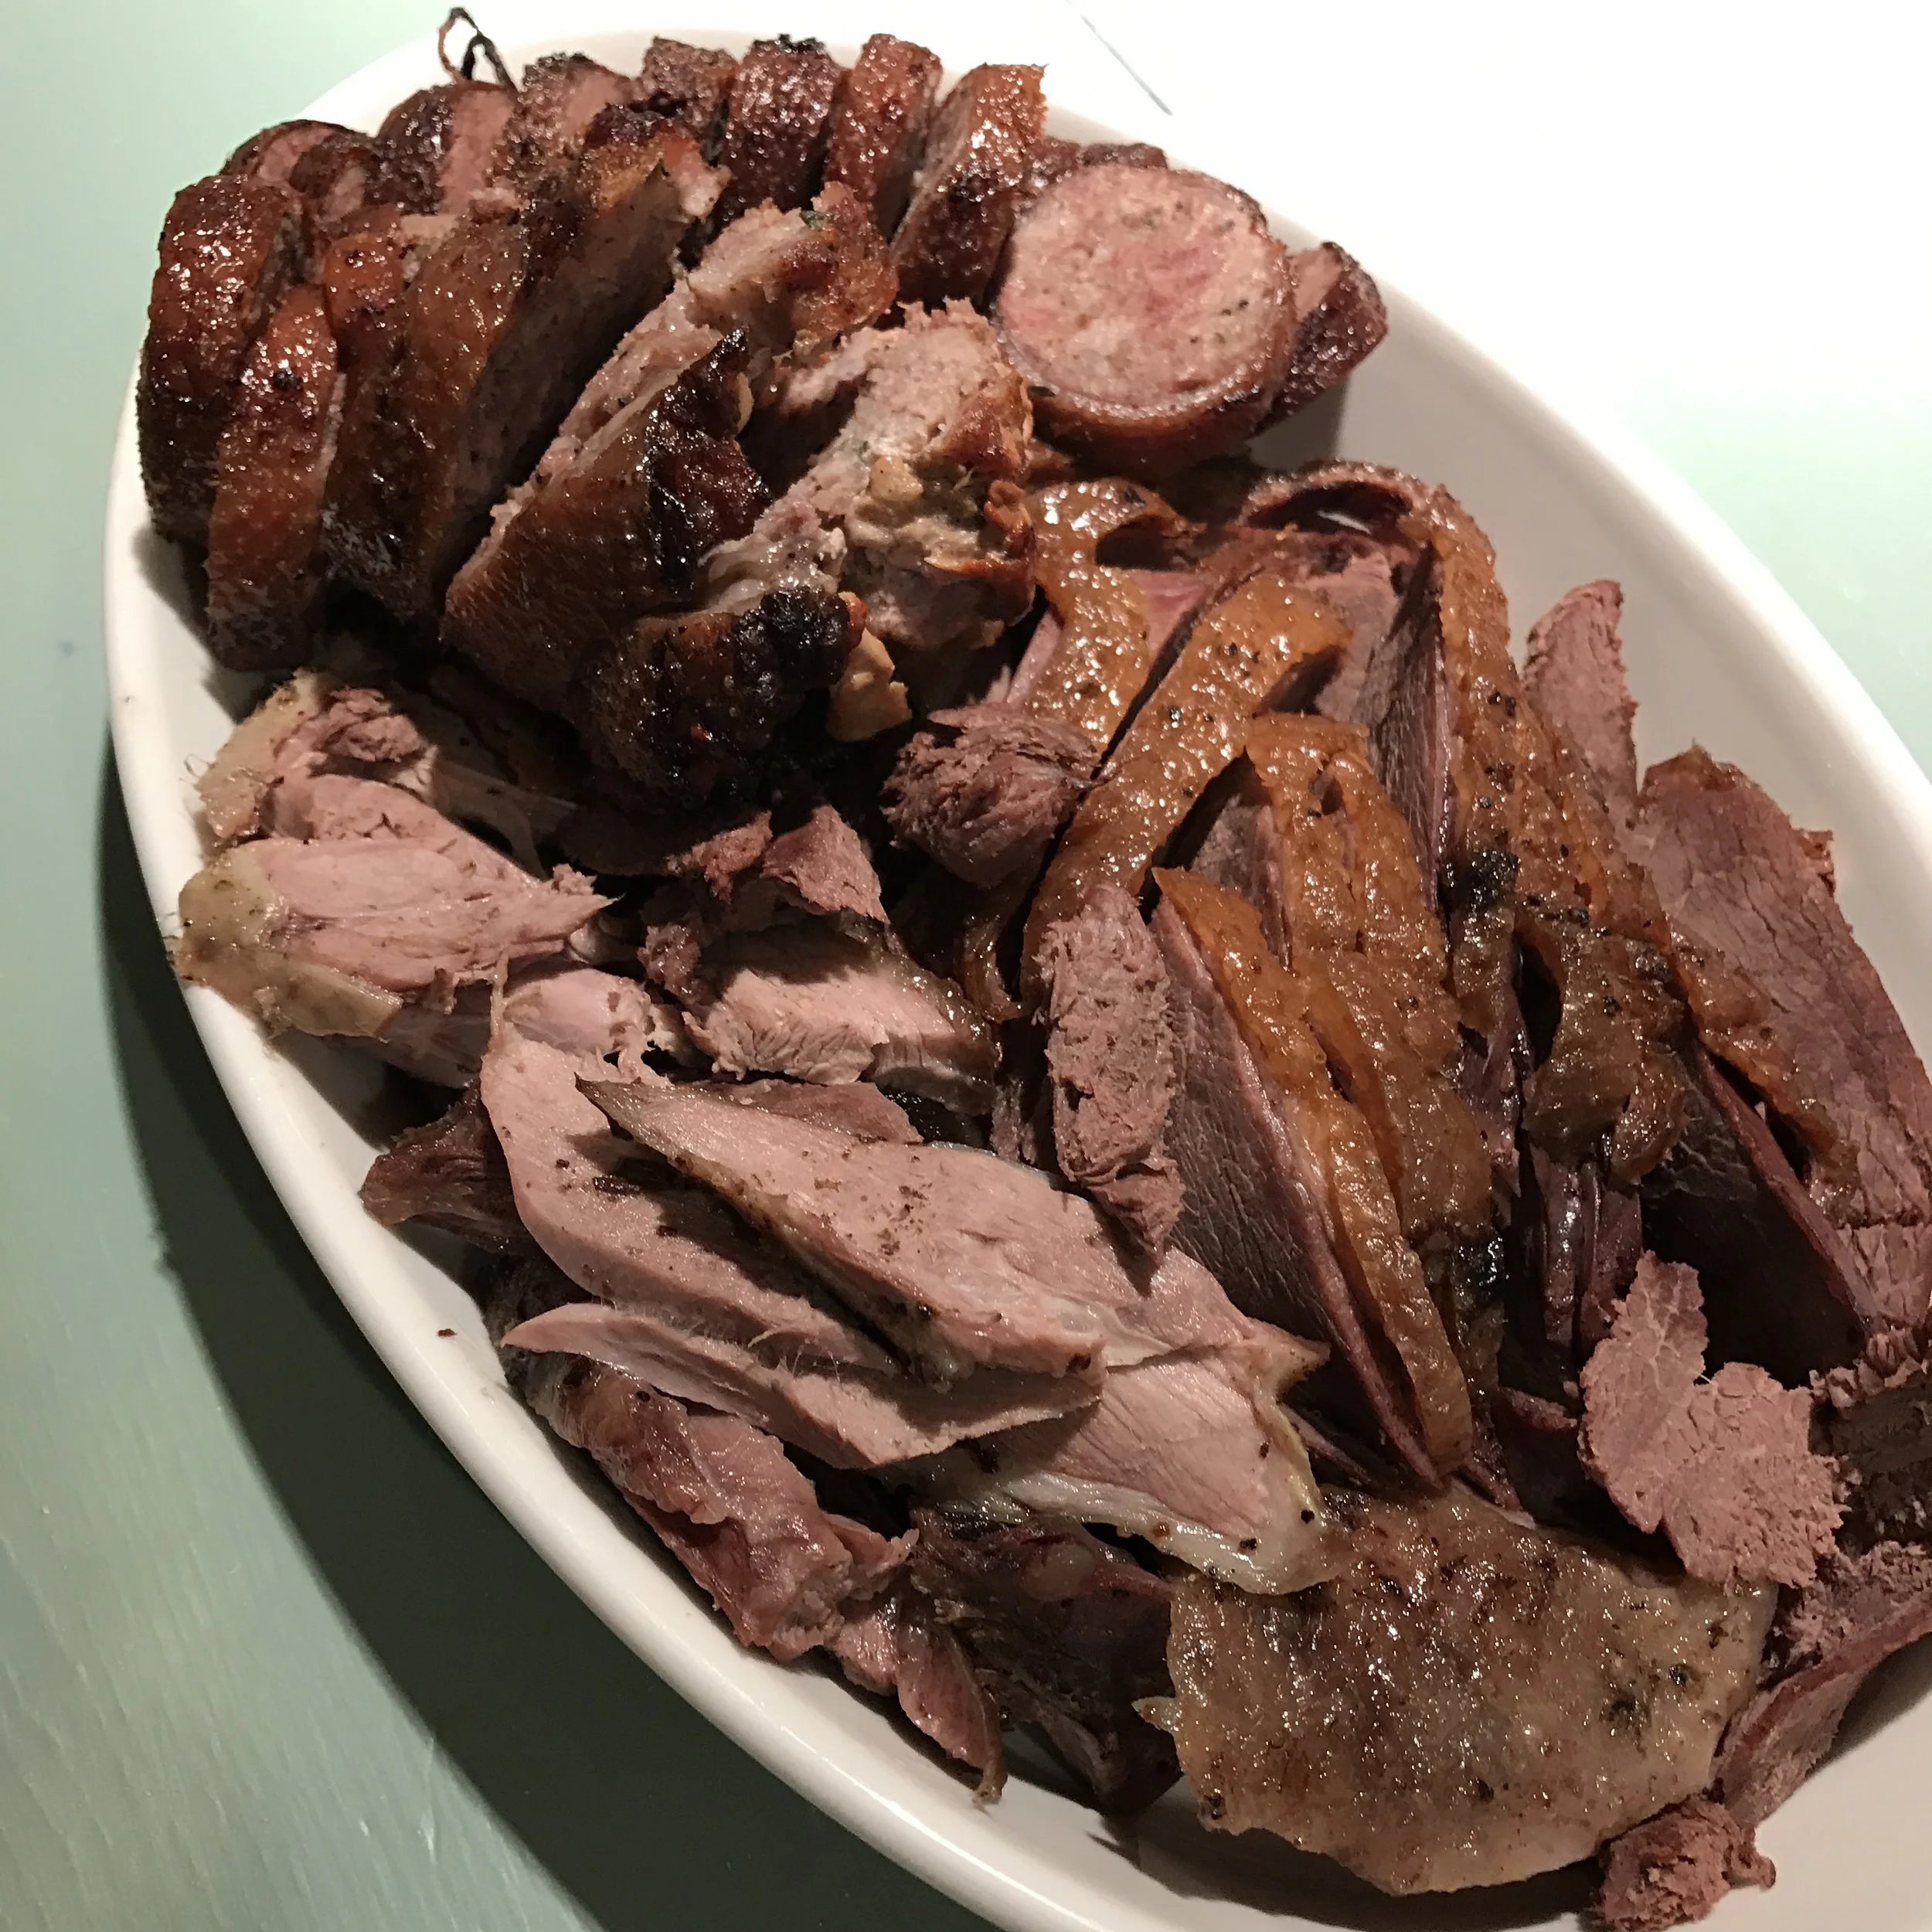
I slices up the meat and sausage and we took the feast (along with creamed spinach and a sweet-potato & apple soufflé) over to my Bride's parents for dinner. The goose was a little tougher and I should have taken the time to make a gravy, but the meat was rich and flavorful, and the Boy went back for seconds and then thirds of the sausage. And then he asked if he could pack the res for his first lunch back at school tomorrow. 

I'm guessing he'll be the only kid there with goose neck sausage. 

It was a small goal, but totally worth holding out for. If you ever get the chance to order/make/try, believe me when I say: don't hesitate. It was delicious. 

Pleasantly funky

The sour corn turned out beautiful. 

I actually kept forgetting about the crock sitting in the corner of the pantry for a week or so. It sat quietly fermenting in brine under a cheesecloth coverThe instructions on "when it's done" includes something along the lines of "it should take about two weeks, depending on the temperature, humidity, or your corn. Check and see if you need more time." 

So I'm just going to say I checked, and it needed more time. 

When I went to lift the cover, there was a thick film of fungus sitting on it. I was supposed to be skimming off the film every day or two, and I forgot that too. Underneath the raft of mold was an inch or so of faintly foggy brine, and then the corn, which was held down by a plate with a heavy rock. 

I skimmed off that moldy raft rather easily and scooped up a spoonful of the corn. It smelled salty-sweet-earthy. The book describes the right flavor as something approaching taste like the last pickle from the bottom of the barrel, yet sweeter with the natural flavor of corn, with an overtone of "pleasant funk". 

That's a perfect description. This stuff is gold. 

Stored in a glass jar in the fridge, the corn will last weeks or even months in the refrigerator. It can be eaten as a cold relish on the side, or even better, the author recommends heating up a cast iron skillet scorching hot and frying it up a bit in butter or bacon grease. To be fair, I'd probably eat roadkill or a pair of slightly off socks if it was cooked up in enough bacon grease. But if you get too close to my little treasure trove of sour corn, I'll probably stab you with my fork.

Make your own. You won't regret it. 

A lesson in dumplings

Since Snowpocalypse 2016 decided to stick it to our more southerly neighbors this weekend, we took advantage of the time to get together with one of our dear friends who has been promising for years to teach us to make traditional Chinese dumplings. 

I have long considered myself something of a connoisseur of dumplings. I try them at nearly every restaurant or opportunity I get. But my expertise only extends to the eating half of the work. I've certainly never made them from scratch, and was at somewhat of a loss as how to start. Our friend asked what kind I liked to eat (since that is apparently where my expertise stops).  I like the pork & cabbage variety best. 

During our conversation about what ingredients we needed to make sure we had on hand, I asked her if she used the frozen dumpling wrappers you can buy at the Asian market. I thought I was being pretty suave demonstrating that I even knew that there was such a thing as frozen dumpling wrappers. She made a face, and shook her head at me. 

"No. We will start by making the dough." 

Um. Ok. What goes into the dough?  I was imagining a special trip to get the ingredients from New York.

Nope. Just all purpose flour and water. 

"Really? Just all purpose flour? Like.. the all purpose flour I buy all the time?" 

"What did you think it was?"

"Well.. I don't know. Magical dumpling flour?"

That prompted another 'are you ok?' face. I quickly moved on. 

"OK. How much do you put in?"

"Enough for how many dumplings you want to make." 

Well yeah. That makes sense, I suppose. 

A lot of the directions took this form. There was very little measuring involved. It was done by feel, or heft, or my favorite - by smell. 

The dough was rolled and kneaded until it was quite firm. Just room temperature water, and what I think was about 4 or so cups of flour. But maybe it was 5.  Whatever it was, it was 'enough'. 

"How much salt do you add to the meat?"

"Until it smells like it is the right amount."

The ingredients were simple:

  • Ground pork (I ground it this morning from sausage trim left from on of our pigs. This was was named Rocky). We used about 2 lbs.  
  • Chopped ginger - only about a half a thumb's worth, chopped fine
  • Chopped onion - only because I forgot to go buy scallions. I used one onion, and tossed it through the grinder at the end (a good way to push the last meat through the grinder as well). If you were using scallions, you should chop 4 or 5 very fine
  • Chopped cabbage. I used about 3/4 head of a Savoy cabbage, as it's leafier and closer to Chinese cabbage. I chopped up about a quarter of it, and was told "finer". When I got the consistency right, our friend said "Good. Now chop more."
  • A tablespoon or so of white sugar.
  • Sesame oil. Just a few drops. 
  • Canola oil. Maybe an 1/4 cup, divided into two parts. 
  • Salt & white pepper

When our friend asked for chopsticks to stir the meat, I whipped out a pair I had bought on a whim a few years ago at an Asian market. "I will use these for stir fry's!" I declared. Which I did. Once.  They have rested in our drawer from that moment until today. I was rather smug at how my laziness made me look rather clever and worldly when I could produce them on demand. 

 Our friend carefully mixed everything together until smooth. 

The ginger, pork, salt & pepper were stirred together with the sesame oil and half the canola oil. 

'Don't mix the salt & pepper in with the vegetables. It will leach the water out.'

The rest of the oil was mixed in with the cabbage (and scallions if you've added). And only then was everything mixed together.  She would pause and smell the mixture occasionally to determine if the flavors were right. If it wasn't salty enough, you wouldn't smell the sesame correctly, she said.  

When she said it was good, I leaned over the bowl and smelled the meat before nodding sagely. 

With the dough done resting, we began to roll it out and chop it into the small balls for each dumpling. I got pretty ok at this part, though I was not nearly as fast as my teacher, who could whip out a flat, perfectly circular dumpling wrapper in about 4 seconds. 

It's a two handed exercise - one hand on the rolling pin, and one on the ball of dough, stretching and spinning it a little as you go, leaving a little hump of thicker dough in the middle. 

IMG_7681.JPG

With a few done, we started on the really hard part: stuffing and folding them. 

Each took a healthy tablespoon of filling, and with some magical twisting and finger sorcery, out popped a perfectly formed dumpling. 

Not a "that looks pretty good" dumpling (which is about as well as I ever managed). But a "looks like it just came out of the restaurant kitchen professional level" dumpling. 

She tried to teach me several times, and my big clumsy fingers managed to sort of get the knack. My Bride, on the other hand, managed pretty well after a couple of pointers.

We even had the Critter trying. 

Even with a lot of practice, you could tell which were made by whom, when they lined up on the board.  

We may, or may not have gotten a little competitive over whose looked better. 

I'll save you from guessing. These weren't mine. 

Once we had enough ready, we started test boiling a few. 

"How long will they boil?"

"Put them in the water, and then let the water come back to a boil. Then add water again so it stops boiling, and let it come back to a full boil. Do that three times." 

Wait... um. What? 

I had to stop and replay that in my head, before I could make it out. But you know what? That totally worked. They came out perfectly done, with the great quality meat and the light, vegetable notes of the cabbage and  spices all perfectly balanced. 

We served them with a dipping sauce made from lots of finely minced garlic, soy sauce and chili vinegar.  When making this at home yourself, use more vinegar than soy sauce. 

I ate so many that I felt stuffed like a dumpling myself. 

Not only were they absolutely amazing, but it was so much fun to be taught by our friend to make something her mom and grandmother had taught her (even if she did laugh herself silly at my antics trying to make my dumplings look reasonably similar to her professional ones). A wonderful way to spend a Sunday afternoon. 

Only two weeks until Chinese New Year's, when dumplings are a traditional food. I think this year, we'll be able to celebrate in style!